
STEP 1 – Install the Kemp Load Balancer (esxi)
Downloads:
Free Load Balancer (Kemp): https://bit.ly/2SBlnNF
- Setup a Kemp account and download the VM files for your hypervisor
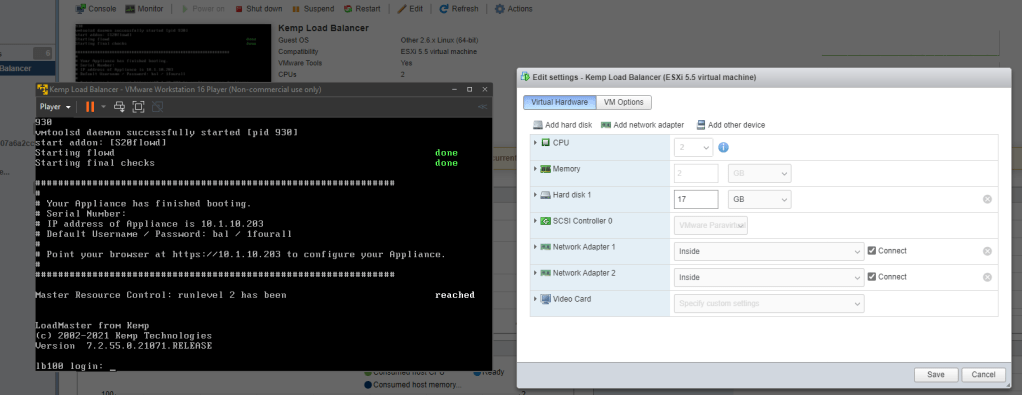
- VMware: Installation_Guide-VMware.pdf
– For esxi, follow the best practices in this PDF.
– Make sure you manually assign your MAC address. - Access the Load Balancer via the URL provided during installation.
– Register your license and change the password
– Agree to the terms, enter in the user and password you created for Load Balancer, select the free license and validate
– Then you will get prompted to create a password for the user “bal”
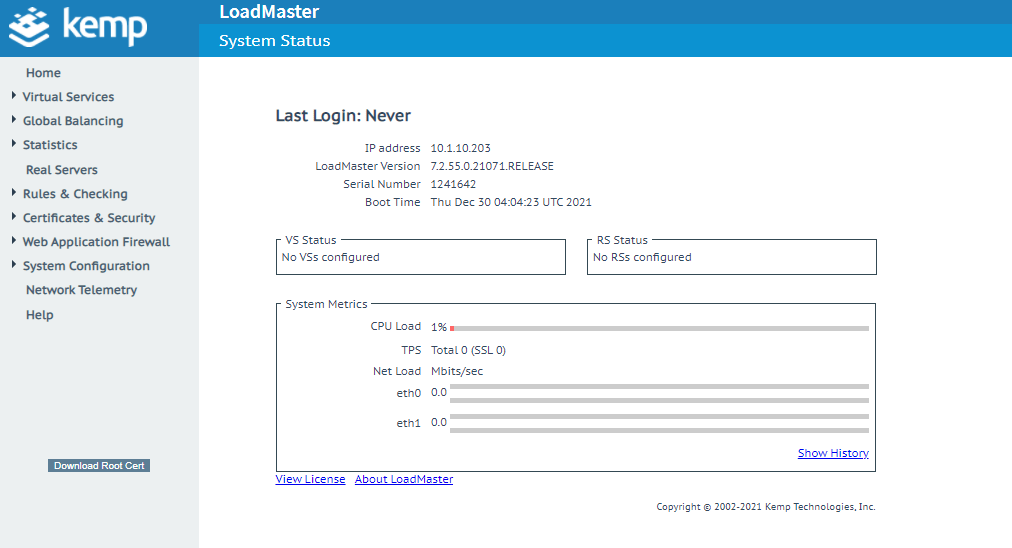
– Final screen after you login
STEP 2 – Load Balancer Initial Setup
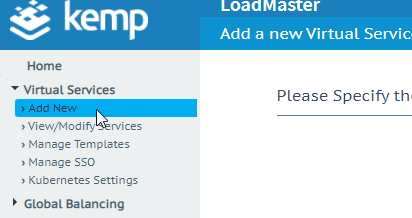
– on the left menu click Add New
– Specify Virtual Service Parameters:
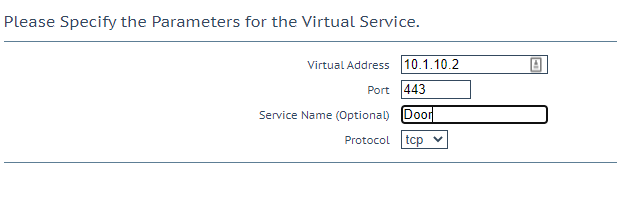
– Virtual Address: (input an UNUSED IP Address on your home network)
Port: 443
Service Name: (whatever you want to name it)
– Click Add this Virtual Service
– Under Real Servers, click Add SubVS to add a sub virtual service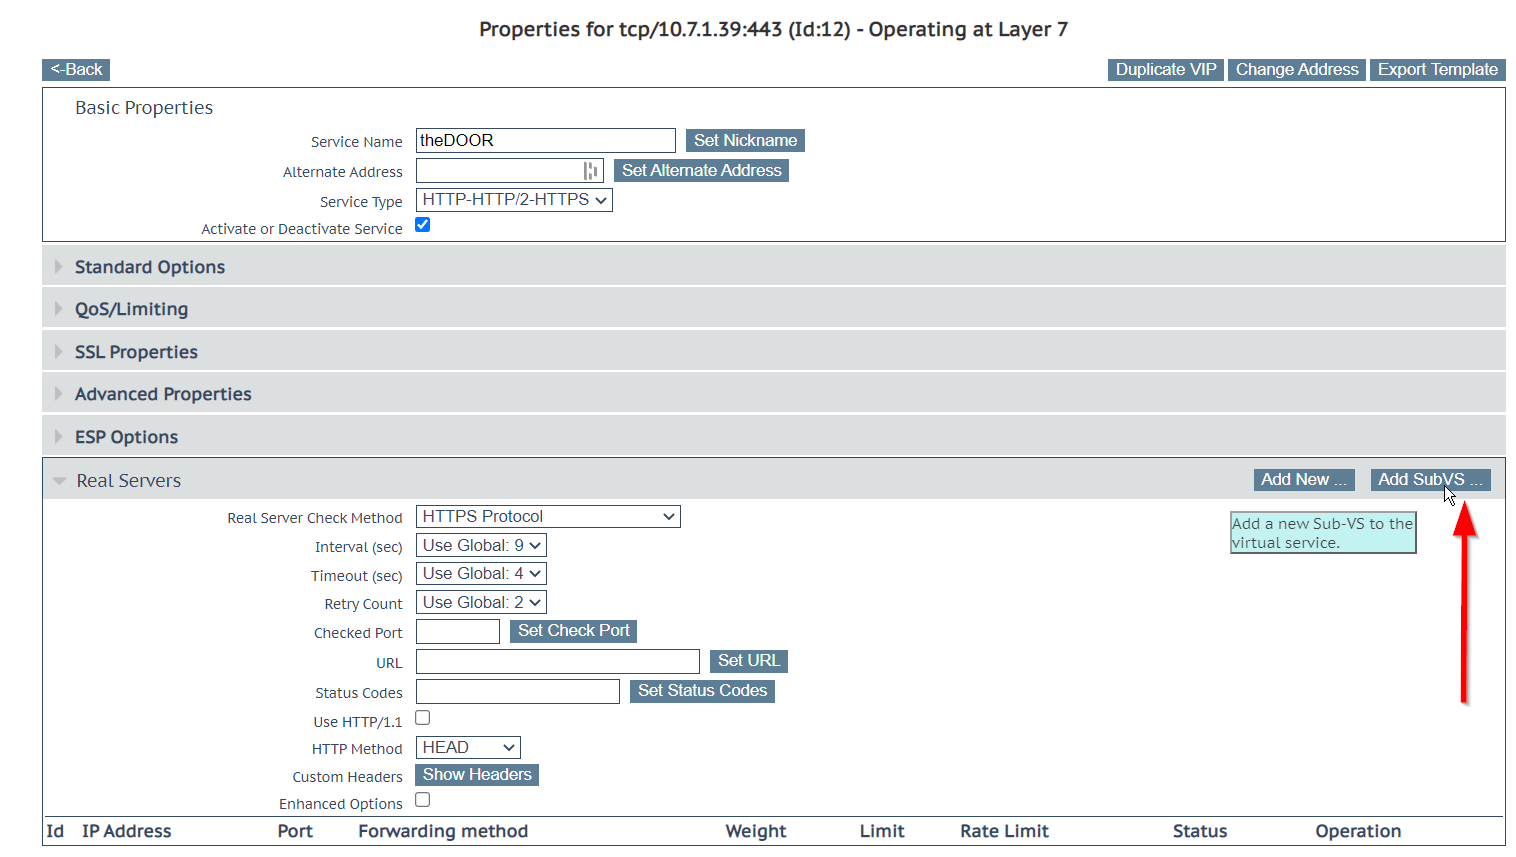
– Under SubVSs, click Modify to edit your new subvs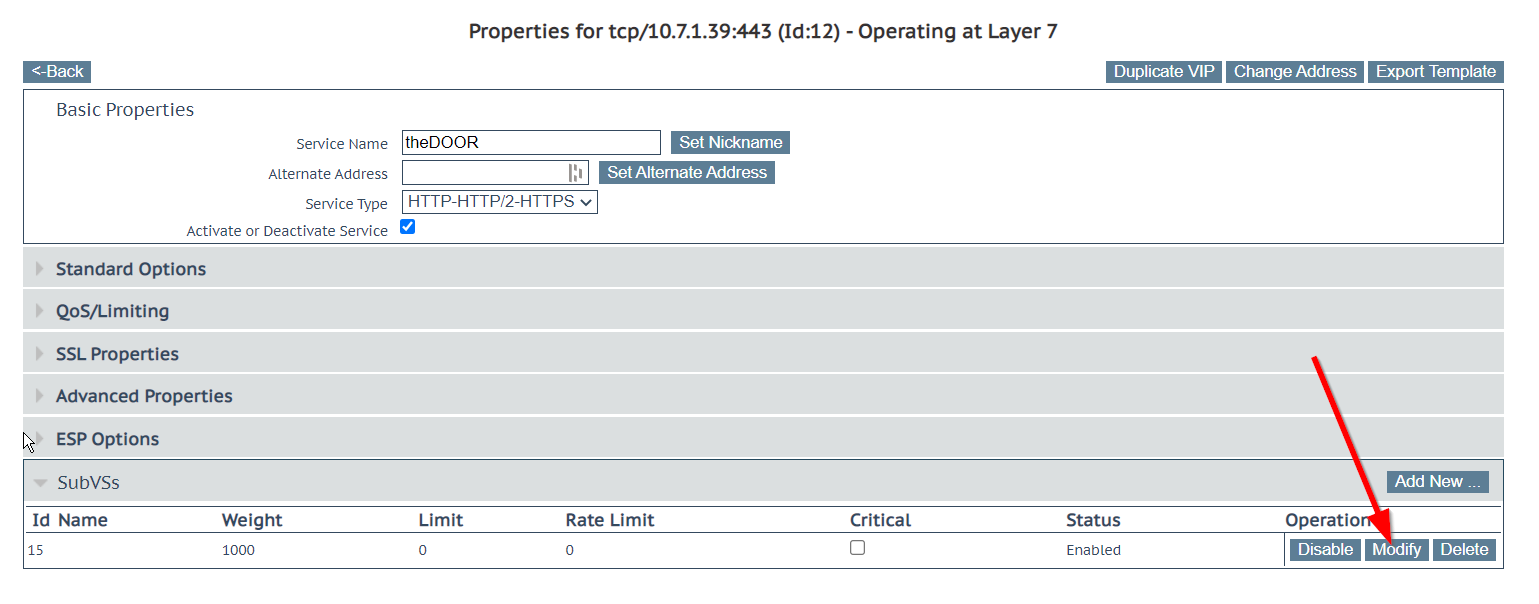
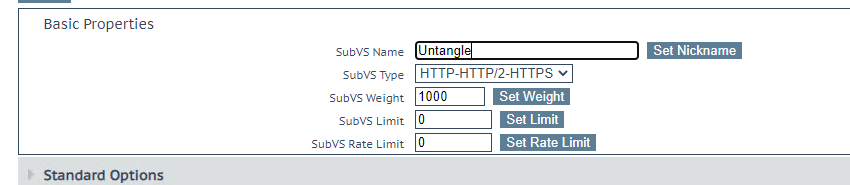
– Set the Nickname of your vs
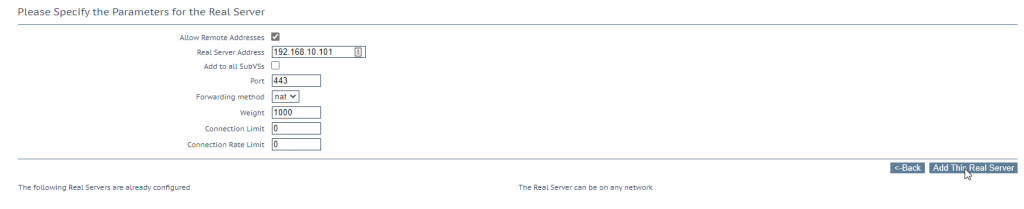
– Under Real Servers, click Add New
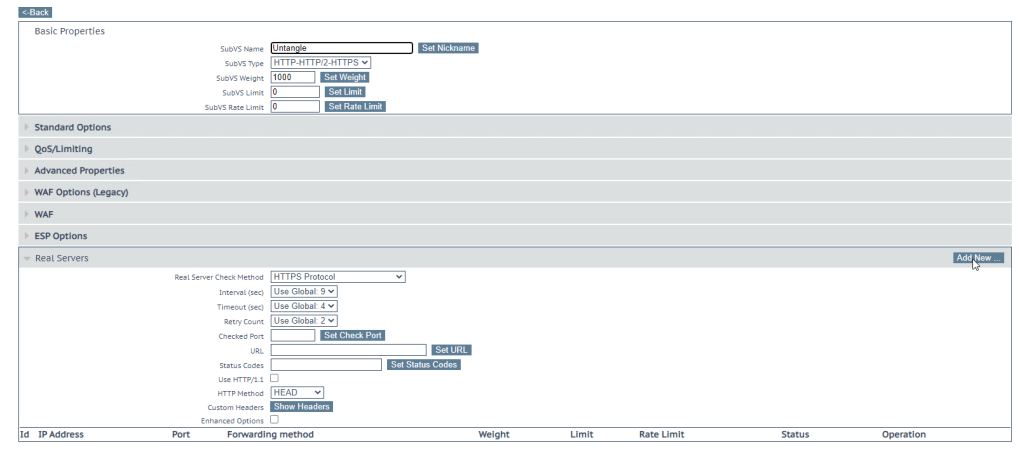
– Enter the IP Address of your real server and specify the port. Click Add This Real Server
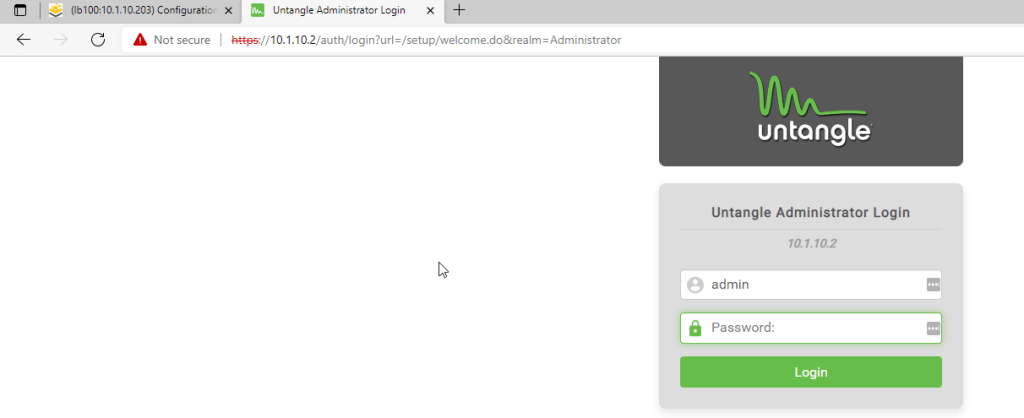
– if you visit the VIP that you created in the beginning it should take you to the sever you connected it to.
– In this case it will take me to my Firewall login page
STEP 3 – Setup a Free Domain (Freenom)
Site: https://freenom.com
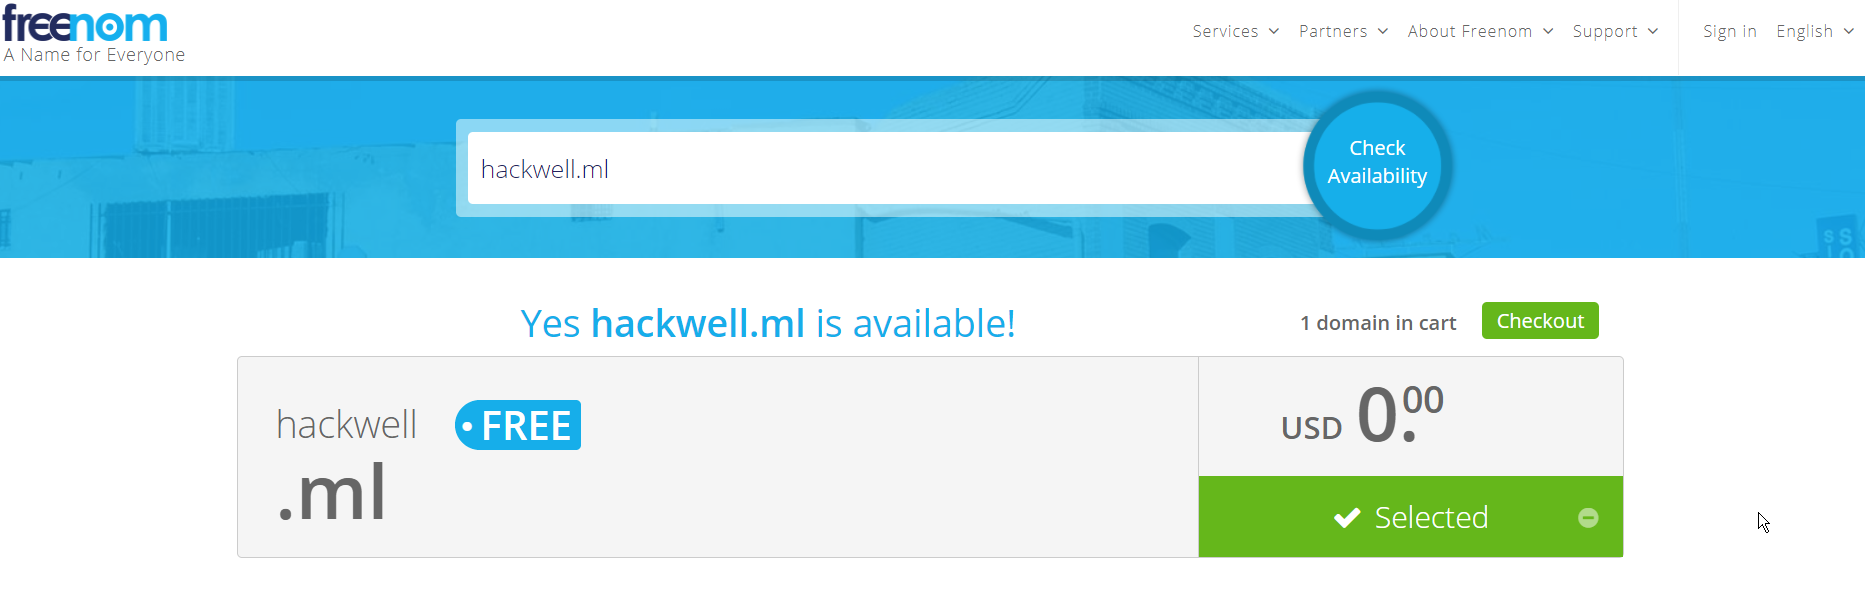
– Navigate to https://freenom.com to setup a free domain name (if you don’t already have one)
– Check for domain availability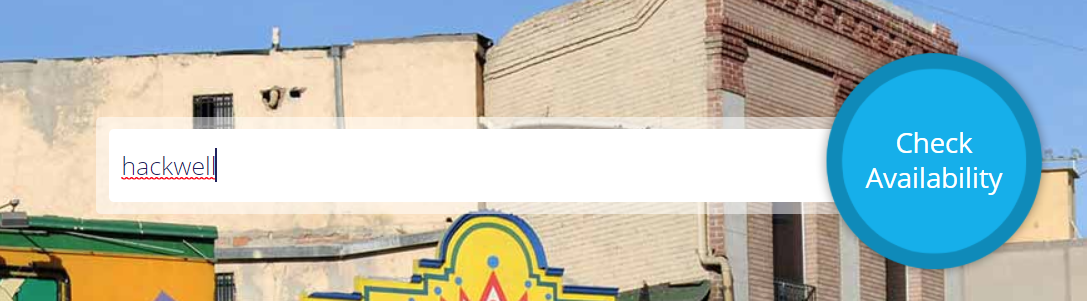
– Find an available domain but DO NOT click get it now. Instead, enter the full domain name of the one you’d like to use in the check availability box. Then click checkout.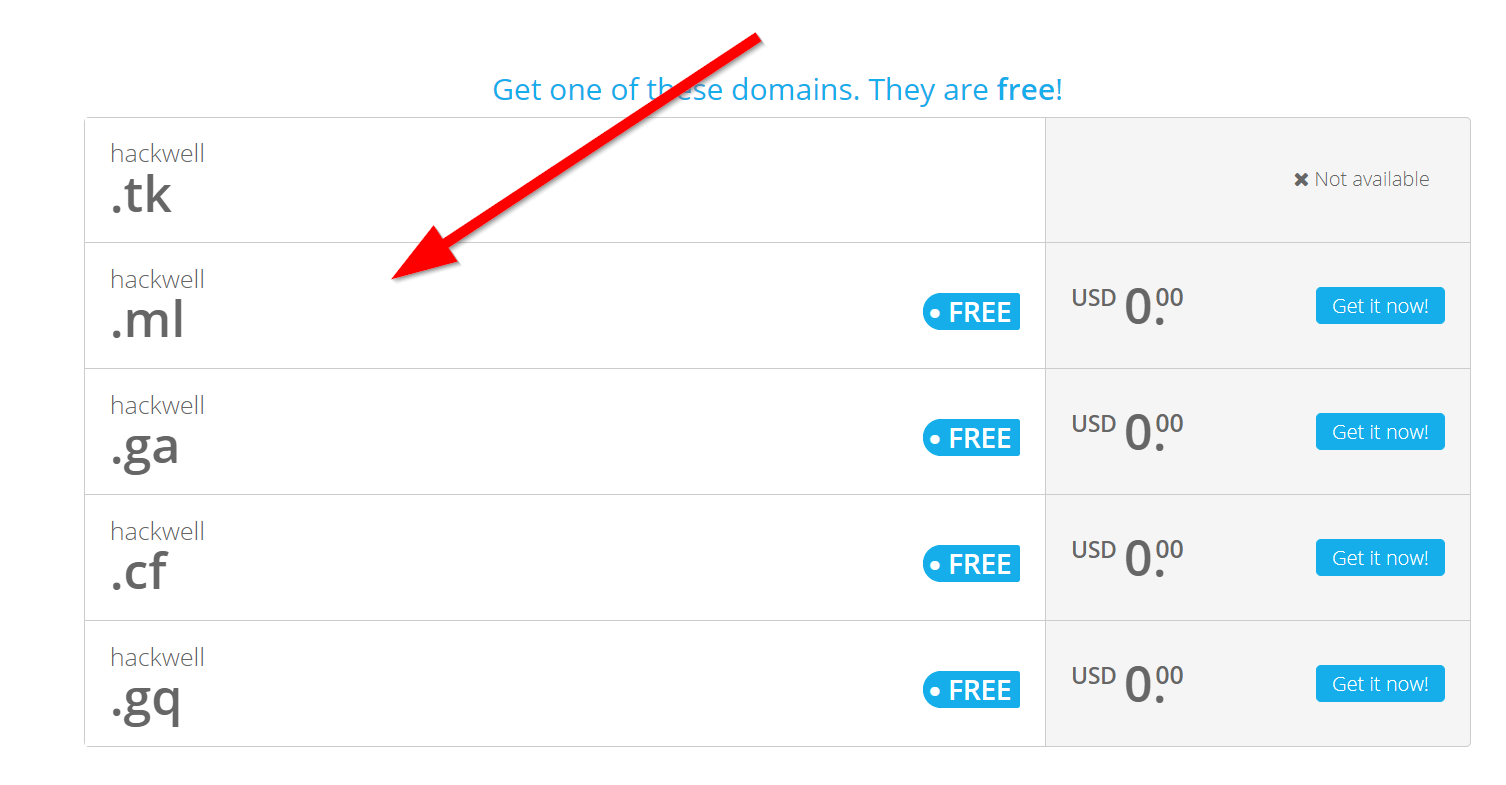
– Change your DNS settings to temporarily point to Google (8.8.8.8) and change your Period (time). Click Continue.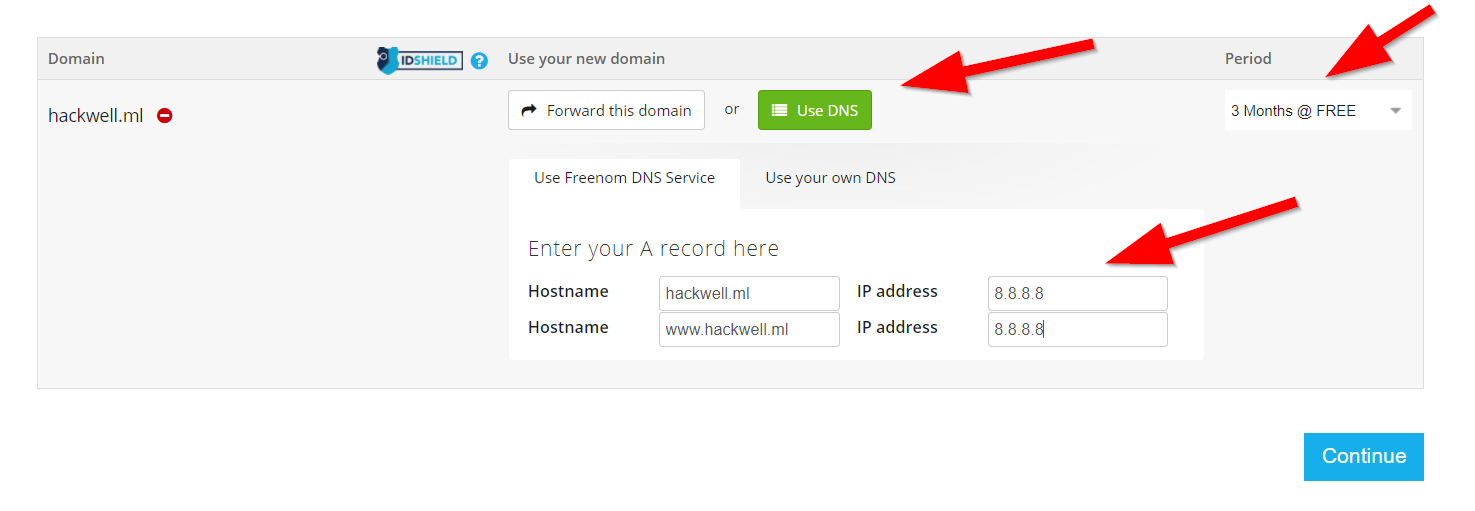
– Sign up for an account and verify your email address.
– Log back into the portal and navigate to Services>My Domains to verify that your domain is active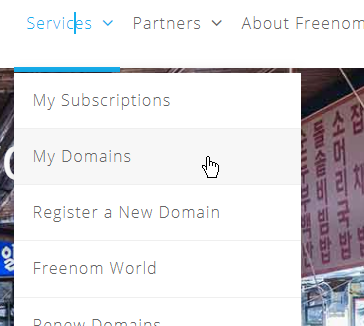

STEP 4 – CloudFlare Setup
Site: https://cloudflare.com
– Sign up for a free account at https://cloudflare.com
– Click Add Site at the top right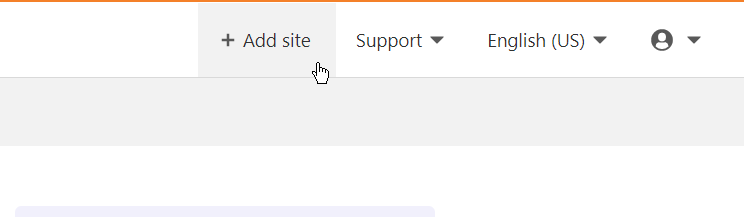
– Enter the url of your domain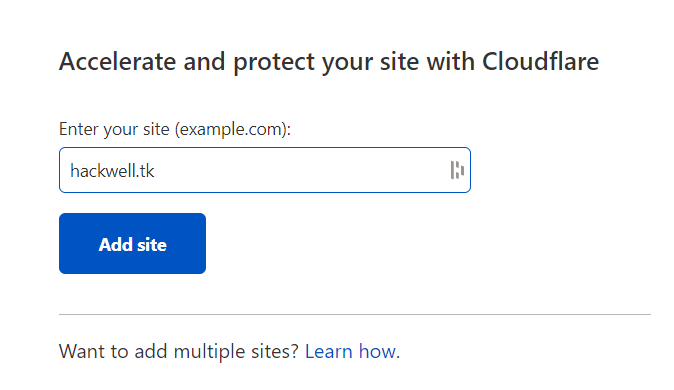
– Choose the Free Plan and proceed to setup and verify DNS.
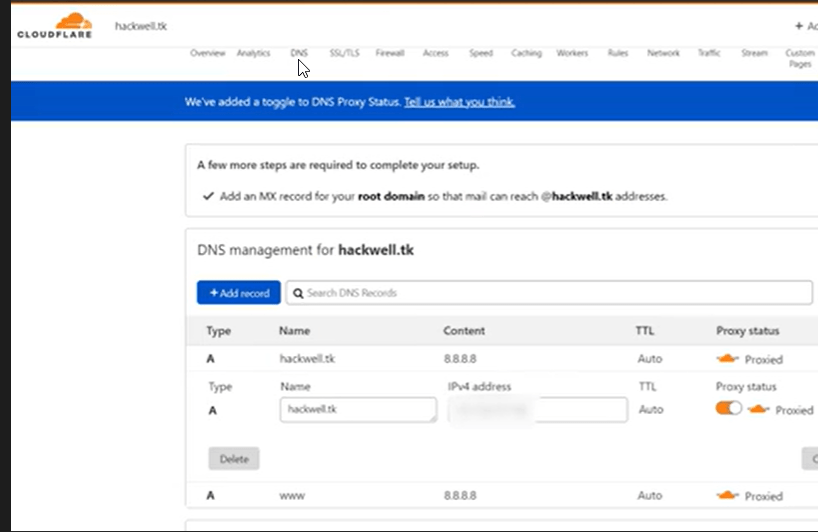
– get your public IP and edit the DNS records on cloudflare
– Add Cloudflare’s nameservers to your Freenom domain settings. Navigate to Services>My Domains. Click Manage Domain and then select Management Tools>Nameservers. **Your nameservers may be different than pictured below.
– Wait to verify that Cloudflare is managing your domain. This will take some time, be patient.
STEP 5 – SSL Certificate Setup and Install
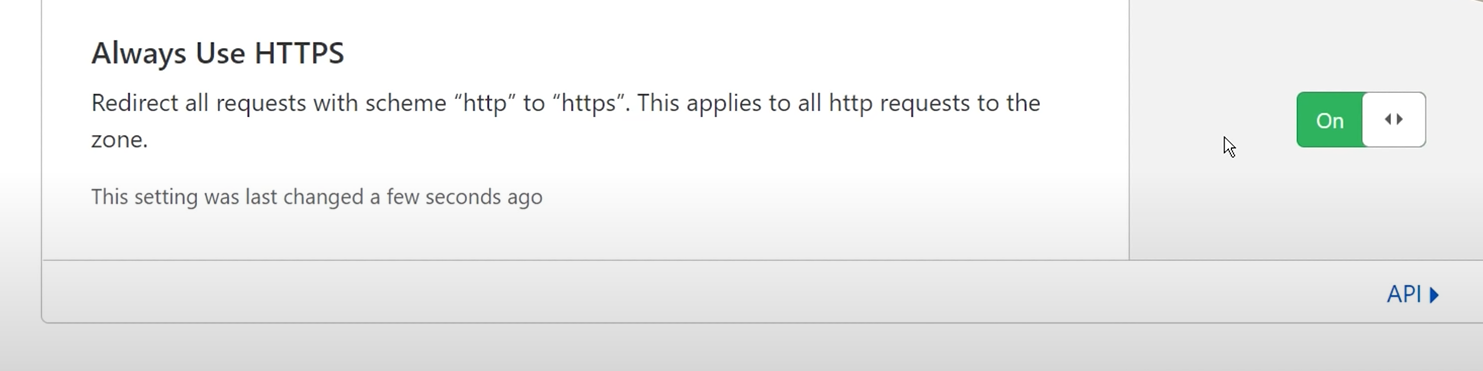
– On cloudflare, navigate to SSL>. Click “Always use HTTPS” on. 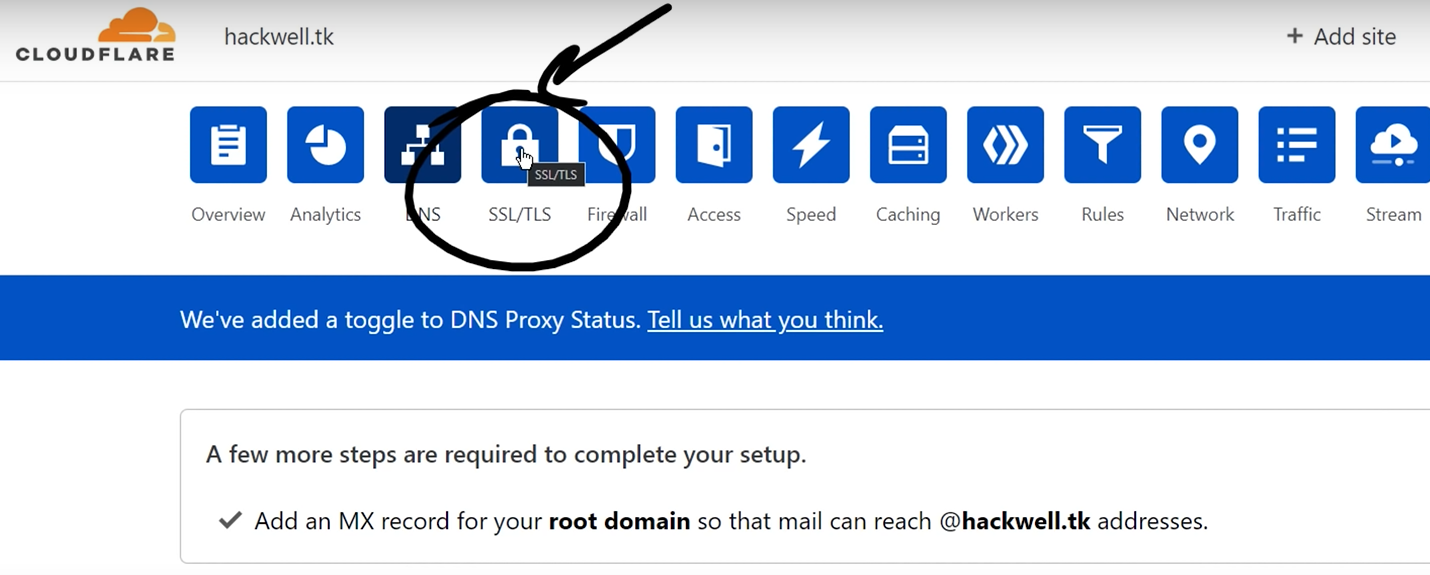
 – Switch over to SSL>Overview. Change encryption mode to Full(Strict)
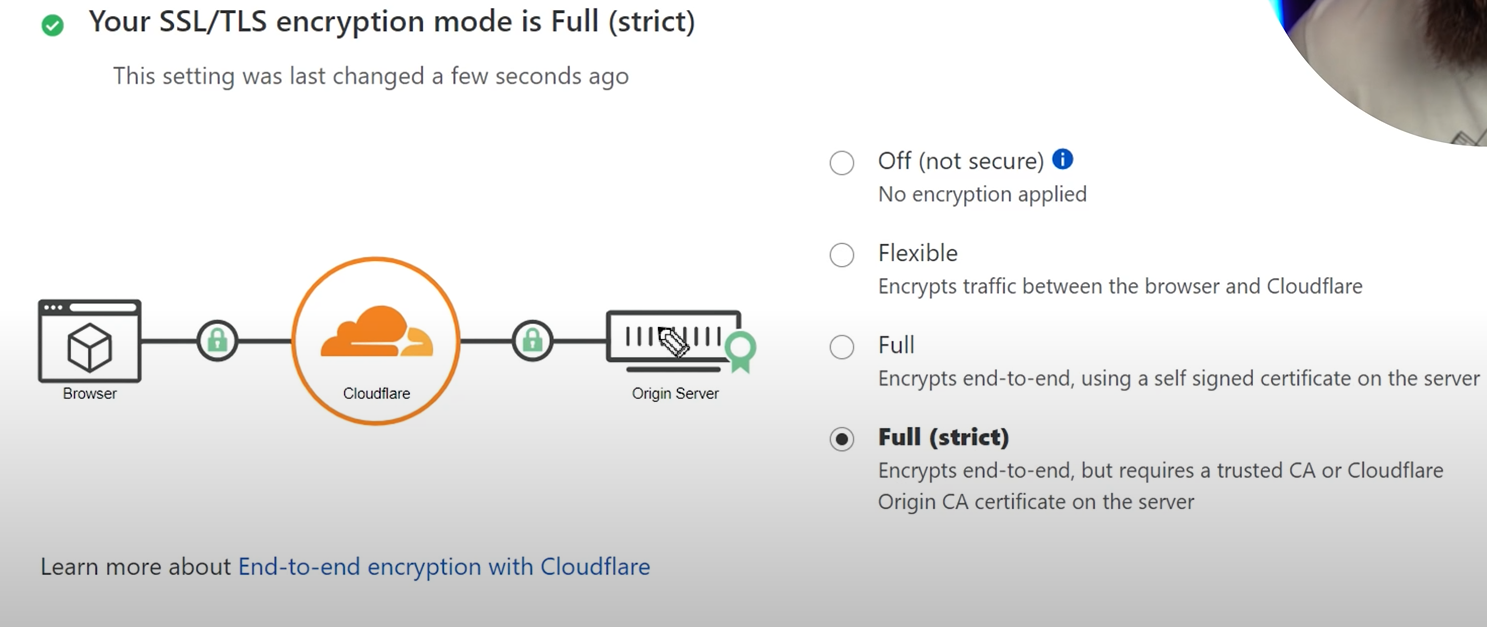
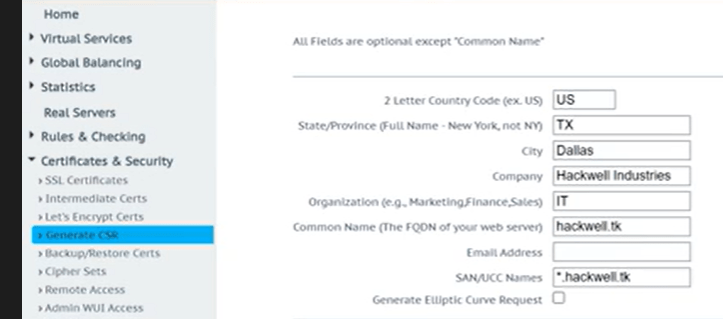
– Log back into load balancer>go to Certificates & Security> Generate CSR, and fill out information and click “Create CSR” leave tab open
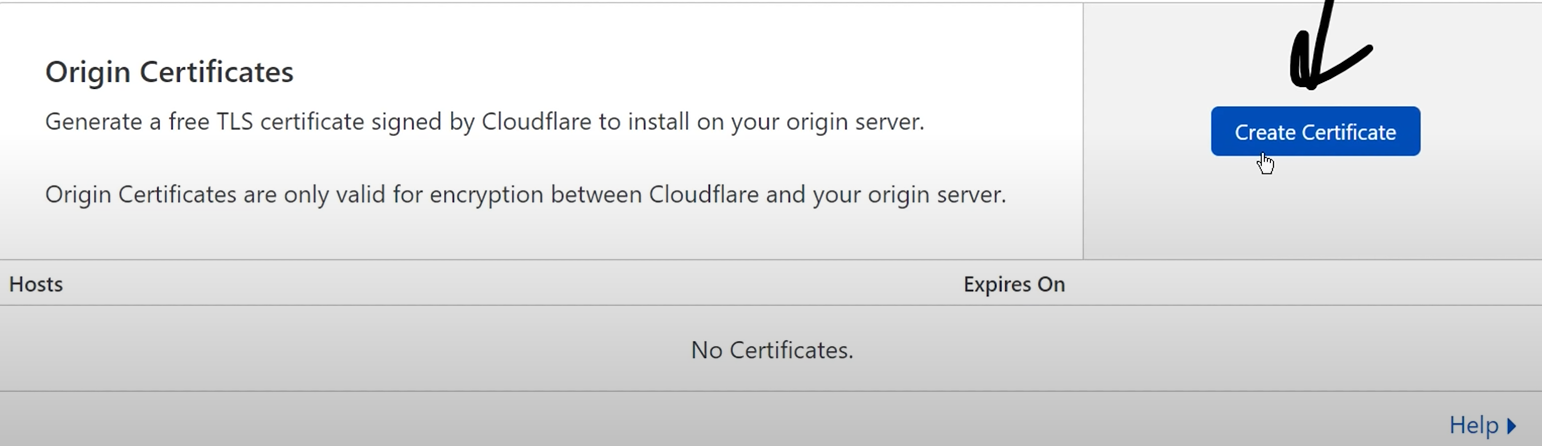
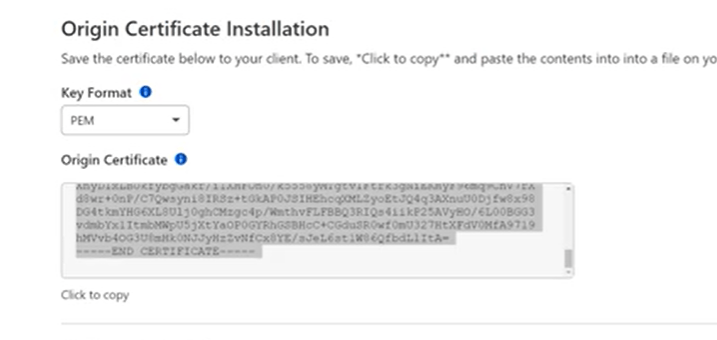
– Navigate back to Cloudflare and go to SSL>Origin Server. Click Create Certificate.
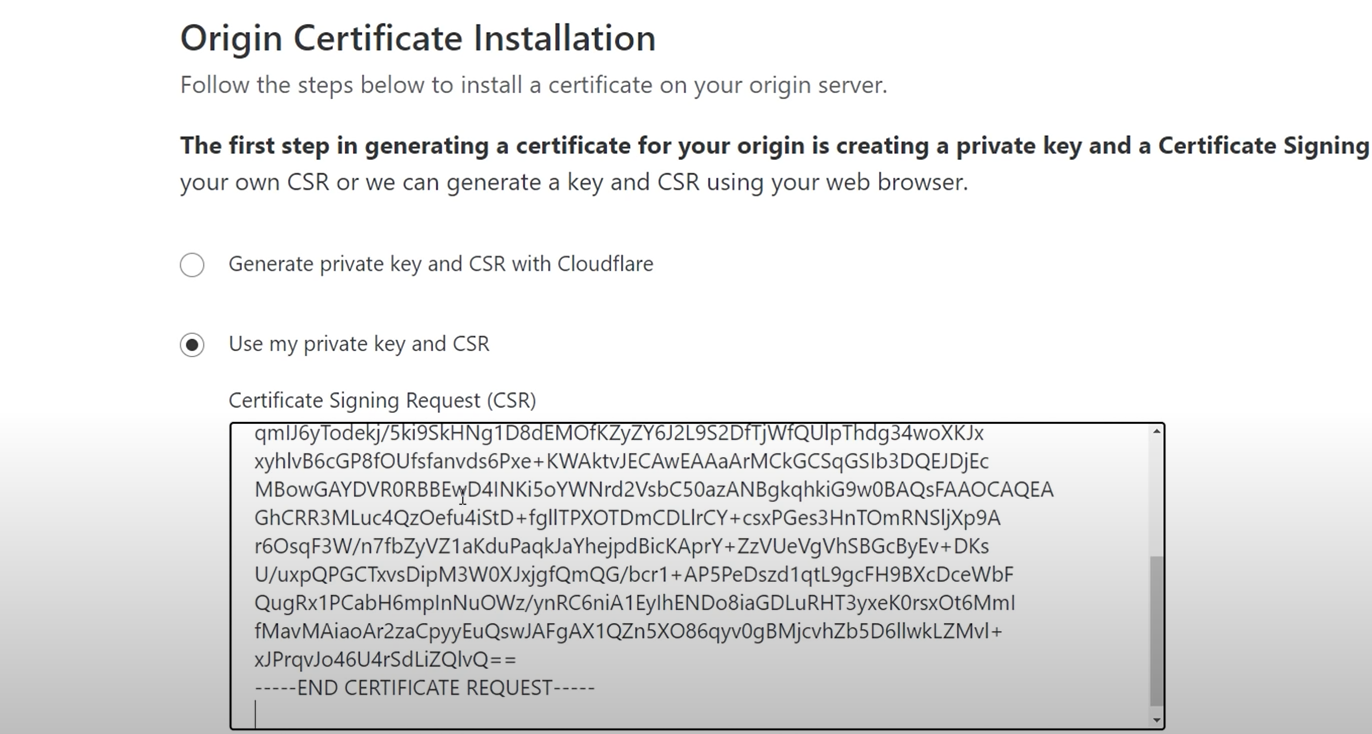
– Select Use my private key and CSR> copy certificate request from Kemp and paste into field. Scroll down and click create. Save CSR key in a notepad named (your company) .pem and save as all files

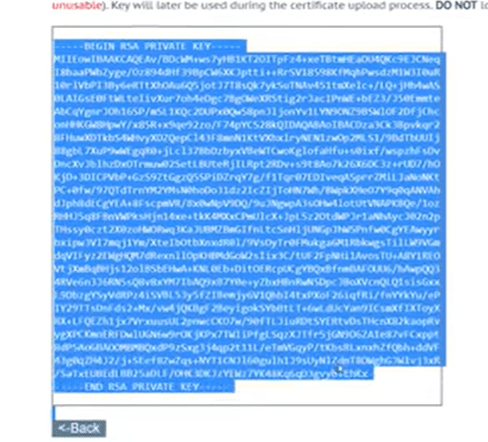
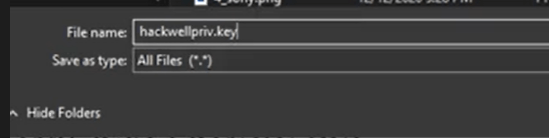
– Navigate back to your Kemp Load Balancer and copy/save your private key as all files, and title it (your company)priv.key
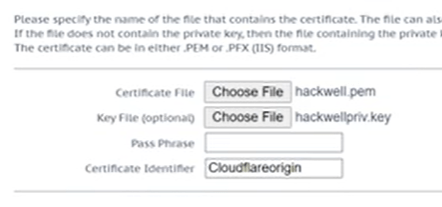
– Go to Certificates & Security>SSL Certificates> and click on Import Certificate>Upload both files you just saved, add certificate identifier, and click save.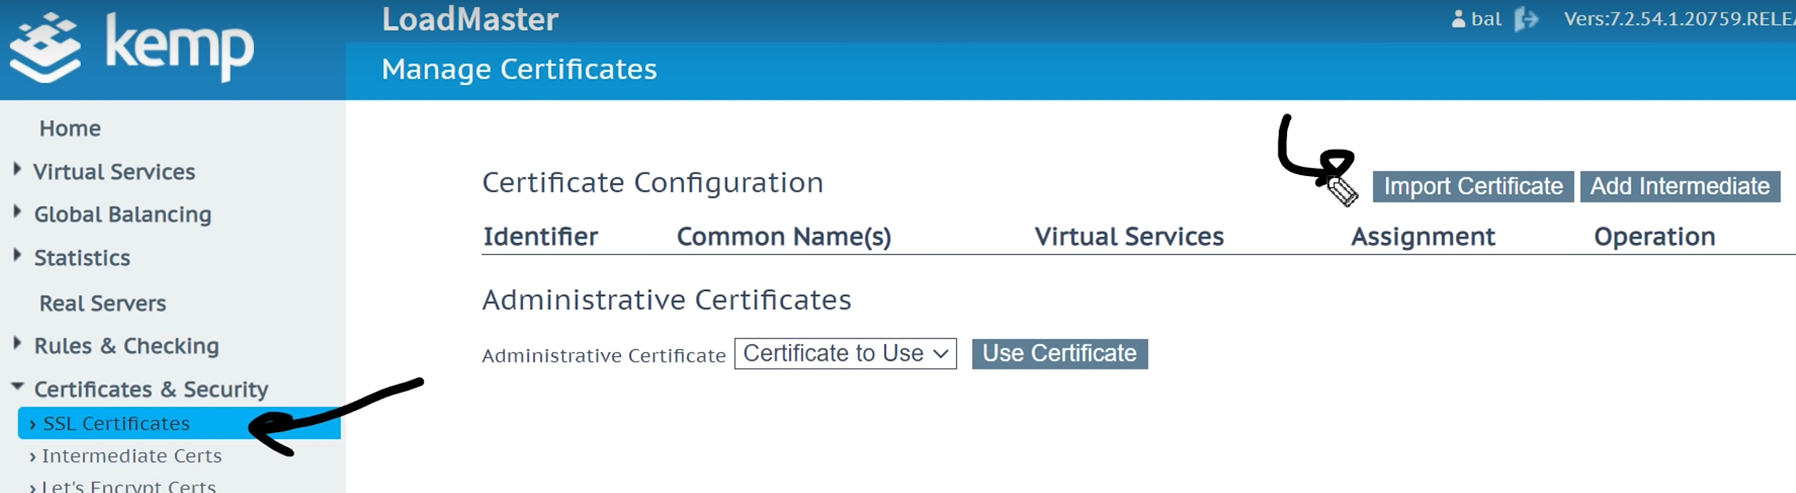
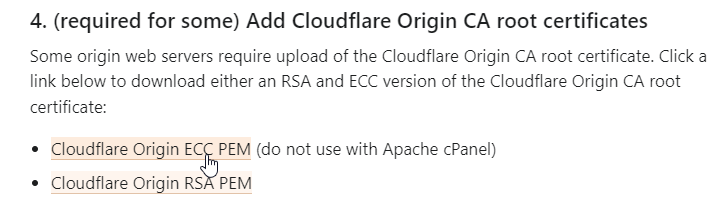
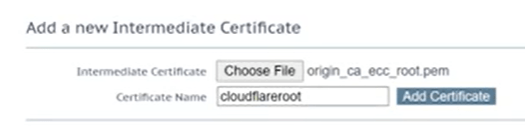
– Download Root Certificate for cloudflare through cloudflare docs. Go back to Loadmaster page and click “Add Intermediate” and choose file to upload.

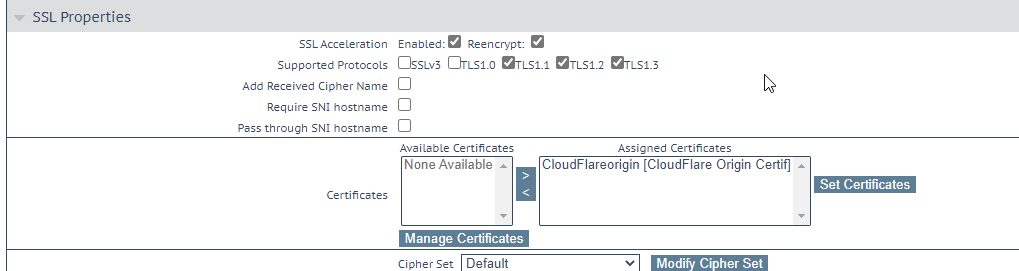
– Navigate to Virtual Services> View/Modify Services> Modify> SSL Properties> and enable SSL acceleration. Assign “Cloudflare origin certificate” and click “set certificates” then select “Reencrypt”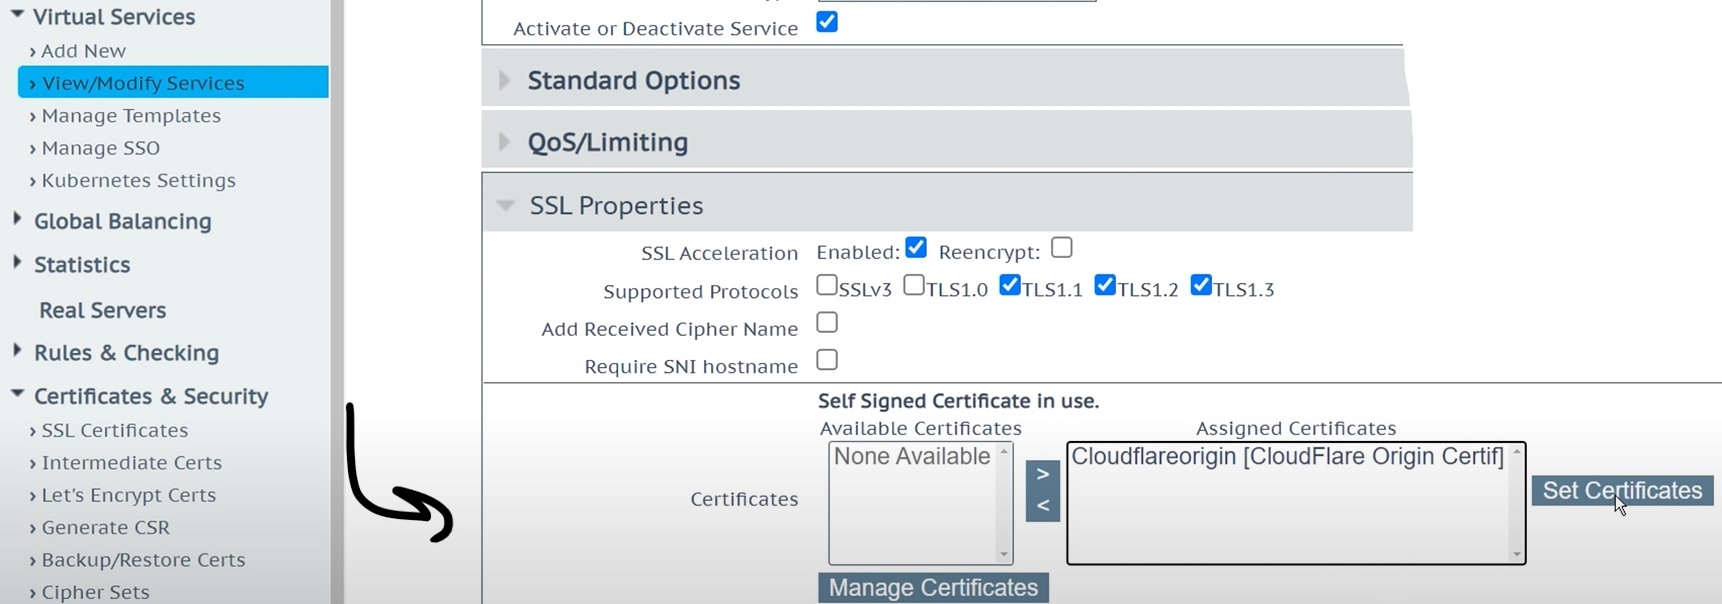
STEP 6 – Port Forward 443
1. Consult router documentation to forward a port with your specific router. (Look Up “Port Forwarding”)
STEP 7 – Set Up Content Switching (Magic)
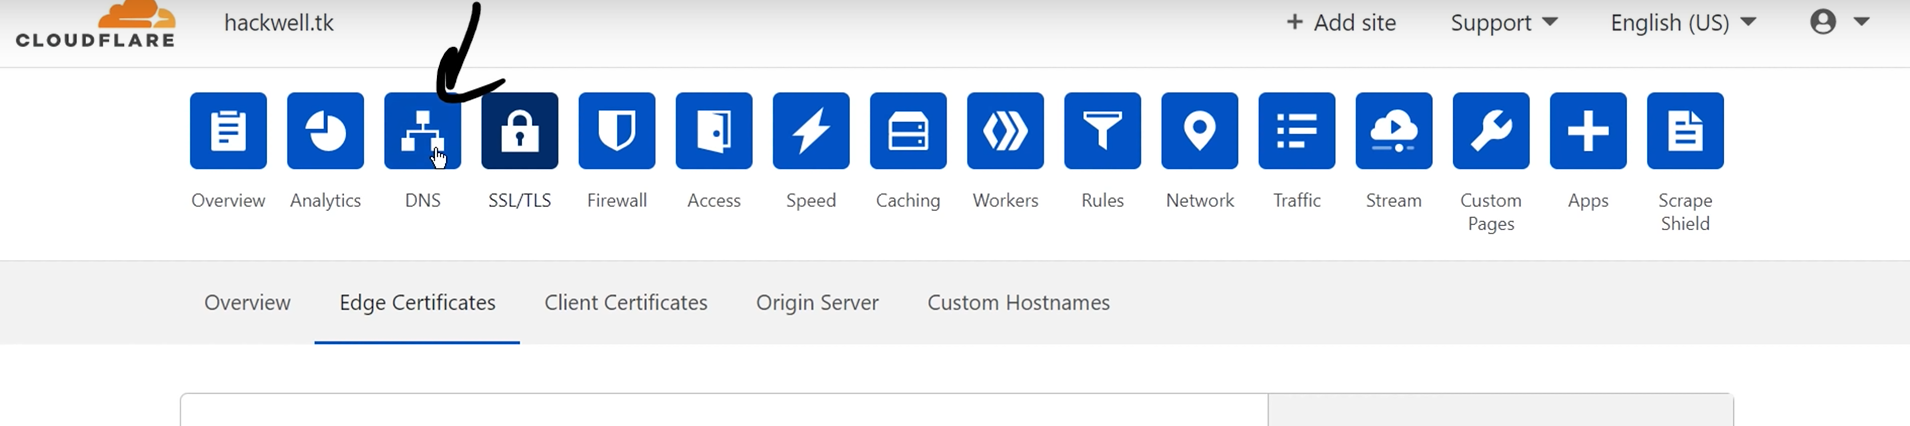
- Navigate back to CloudFlare and go to DNS.
- Add Record> under name type “plex”> enter same Public IP address as other DNS entries.> click save
- Open Command Prompt> type: ping (IP Address) to verify it works.
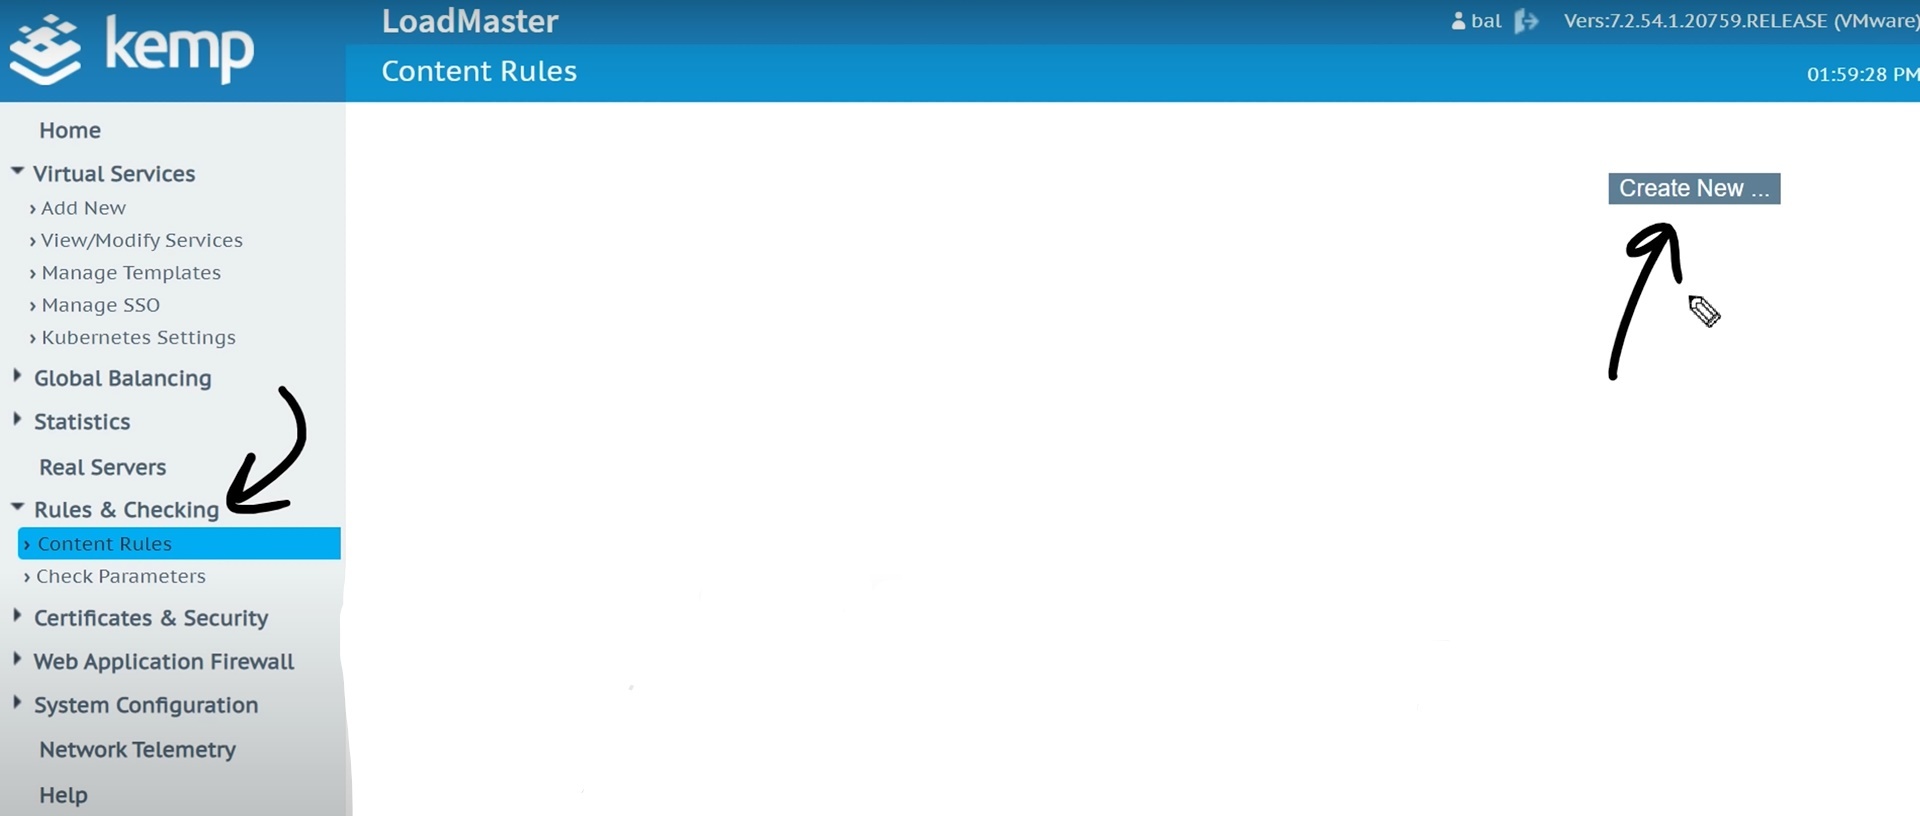
- Go to Load Balancer> Rules & Checking> Content Rules> Create New
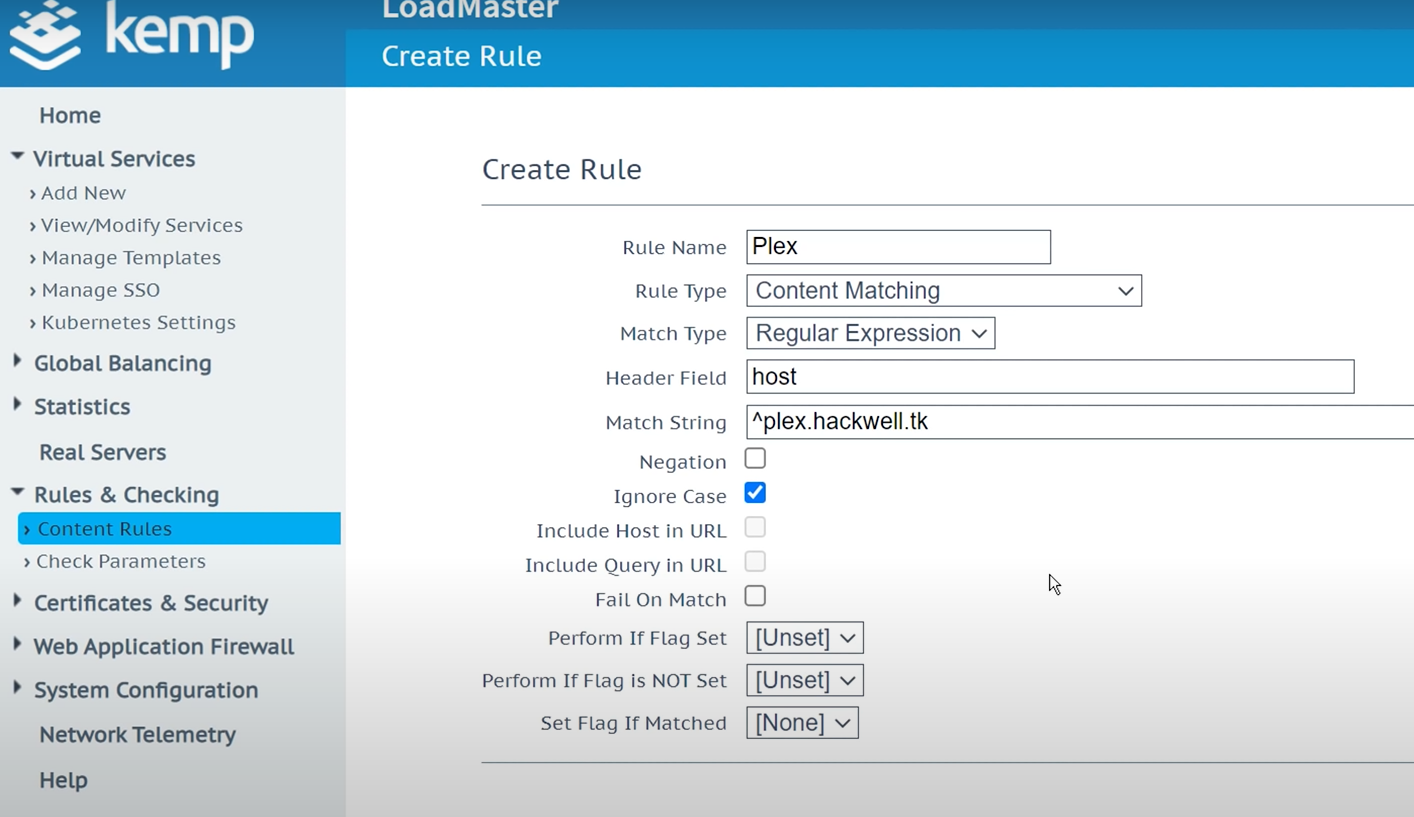
- Enter the information:
- Rule name: Plex
- Rule Type: Content Matching
- Match Type: Regular Expression
- Header Field: Host
- Match String: ^plex.(Server name)
- Ignore Case: (Check field)
- Click “Create Rule”
- Go to Virtual Services> View/Modify Services> Modify> Advanced Properties> Enable content switching.
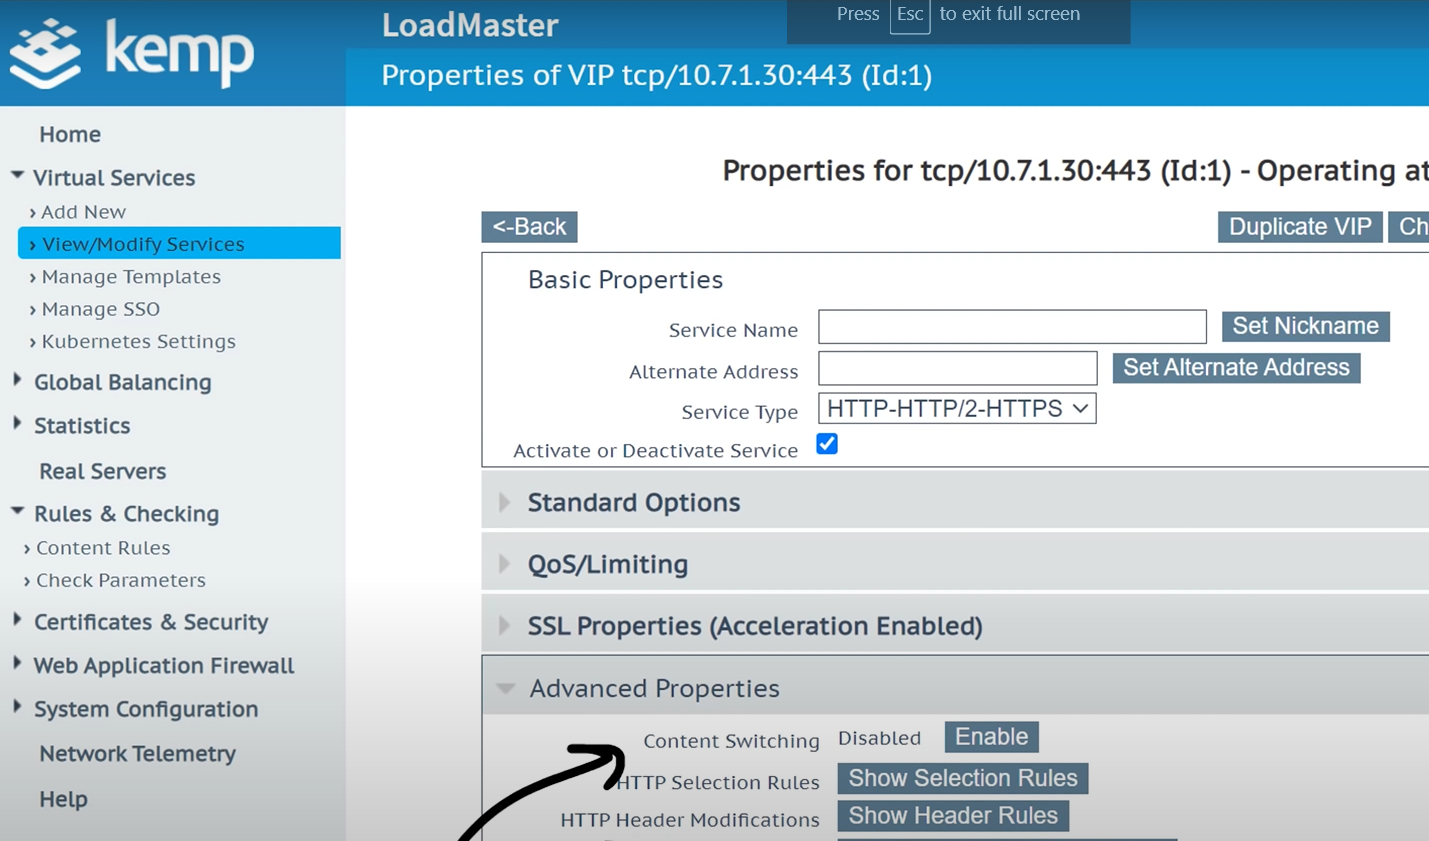
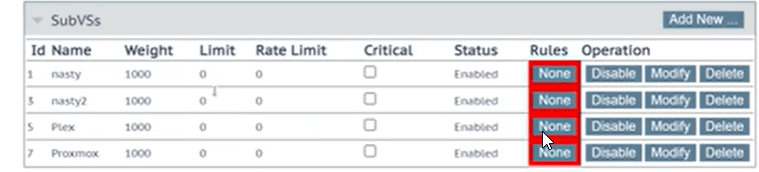
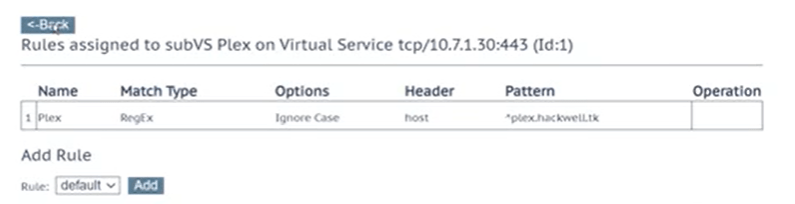
- Scroll down to sub-services > go to plex and click on “none” for rules> change rule from default to plex
Repeat for any other services you want
