
What you need
– ESXI Server
Downloads:
– Latest Kali Linux ISO link
Step 1 Setting up the VM on the ESXi server
– Upload the ISO onto the ESXI server

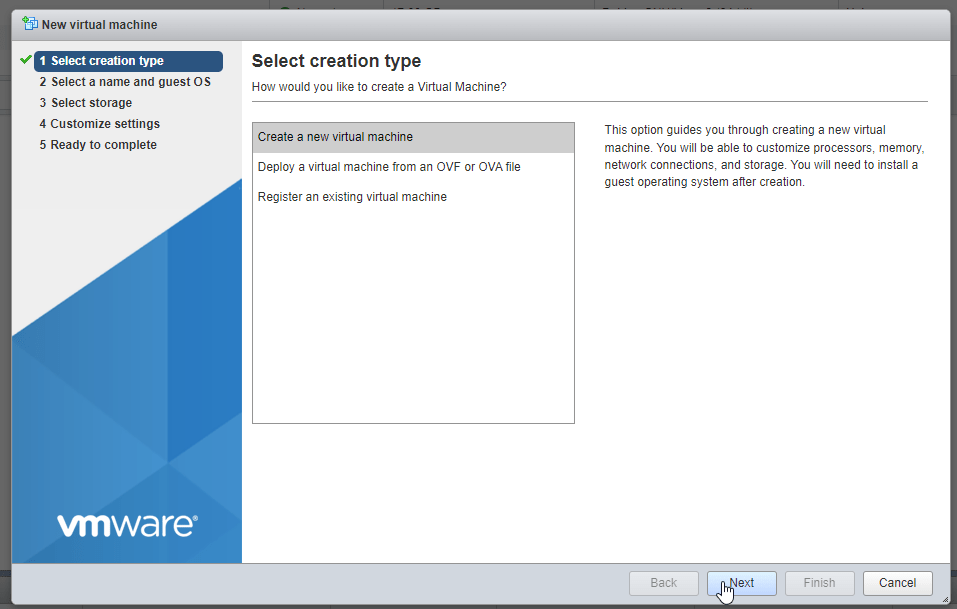
– Create a VM


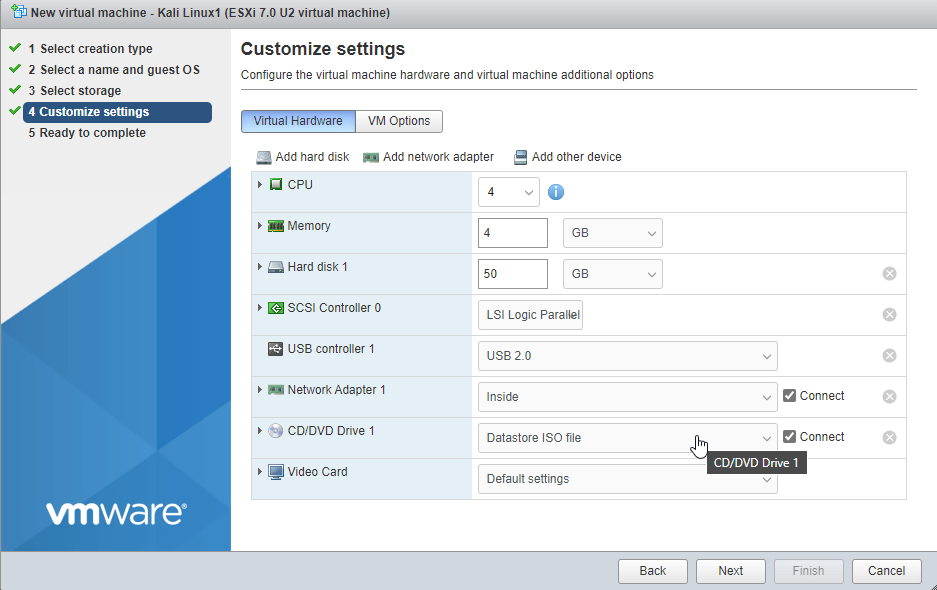
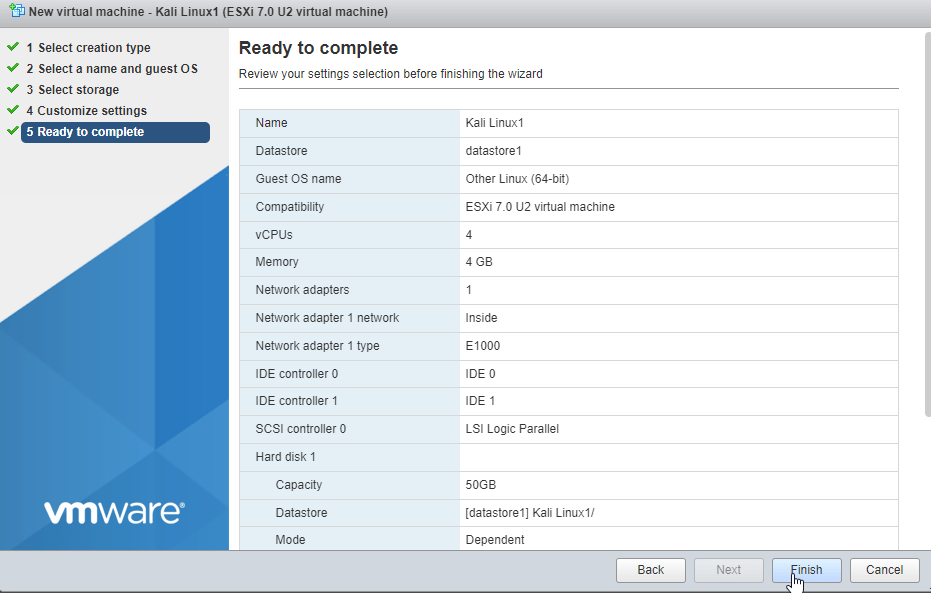
Configure your settings and point the CD drive to the uploaded ISO
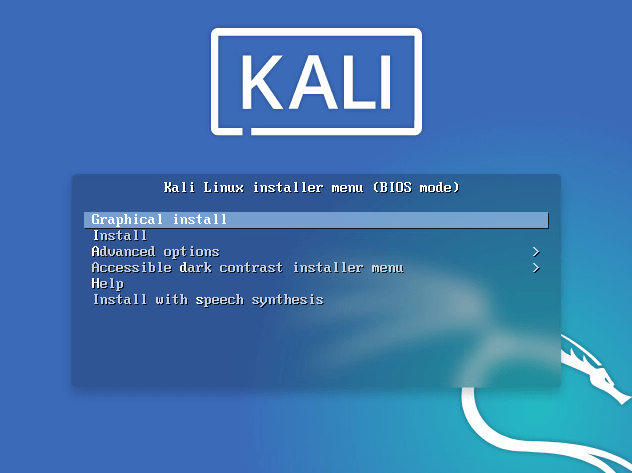
Step 2 power on and install Kali Linux

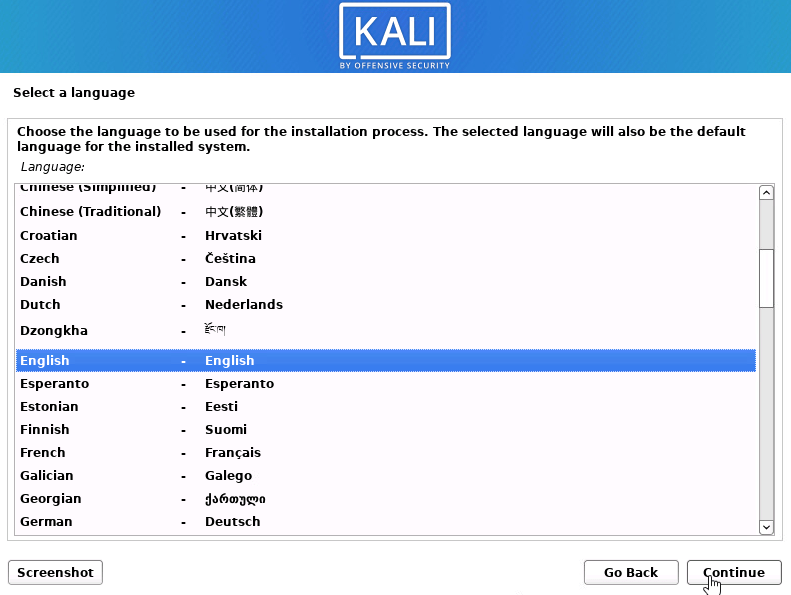
Choose graphical install
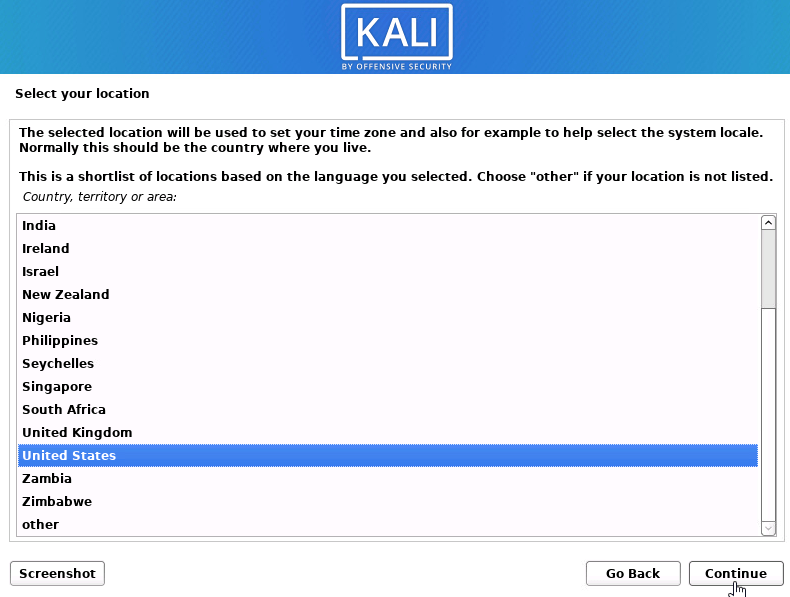
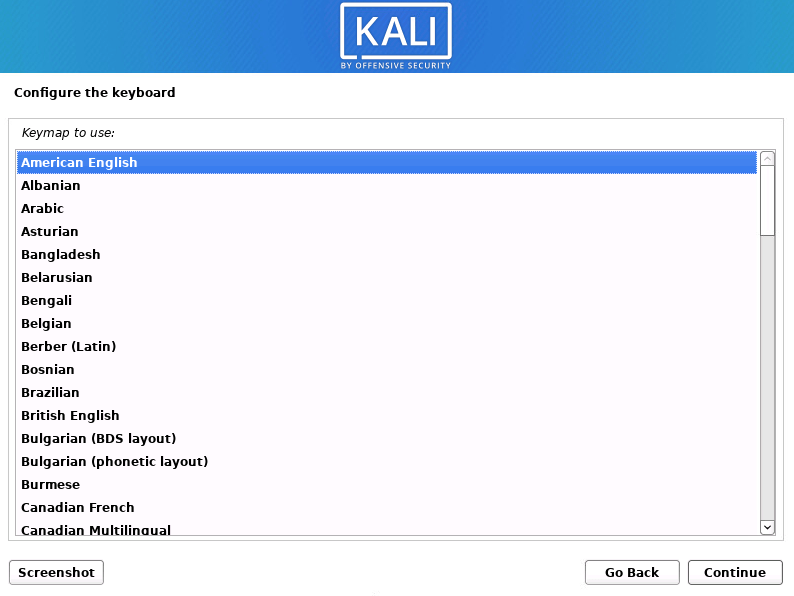
– Choose language, location and keyboard
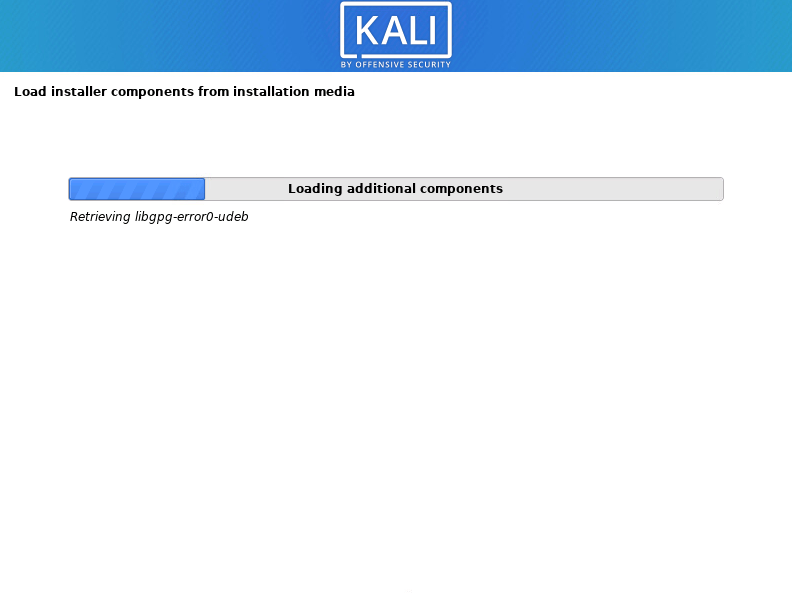
– Installation will start, give it some time to do its thing
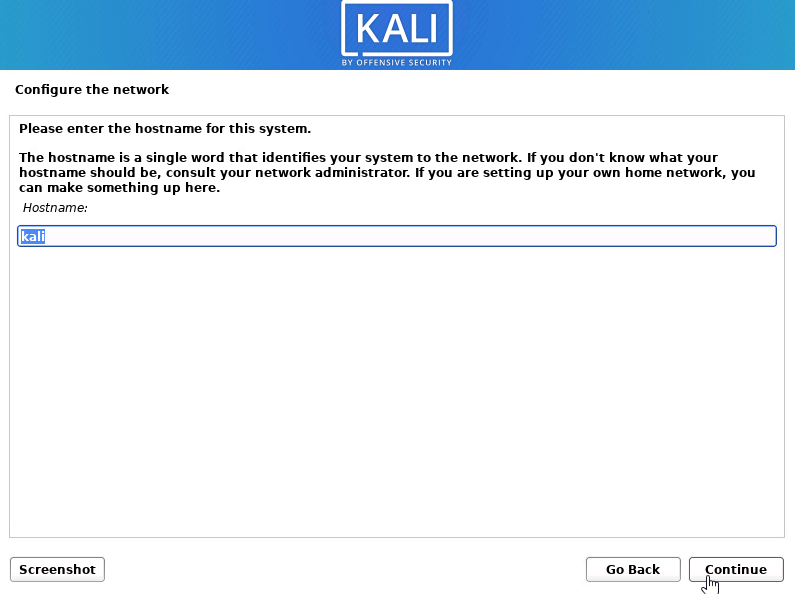
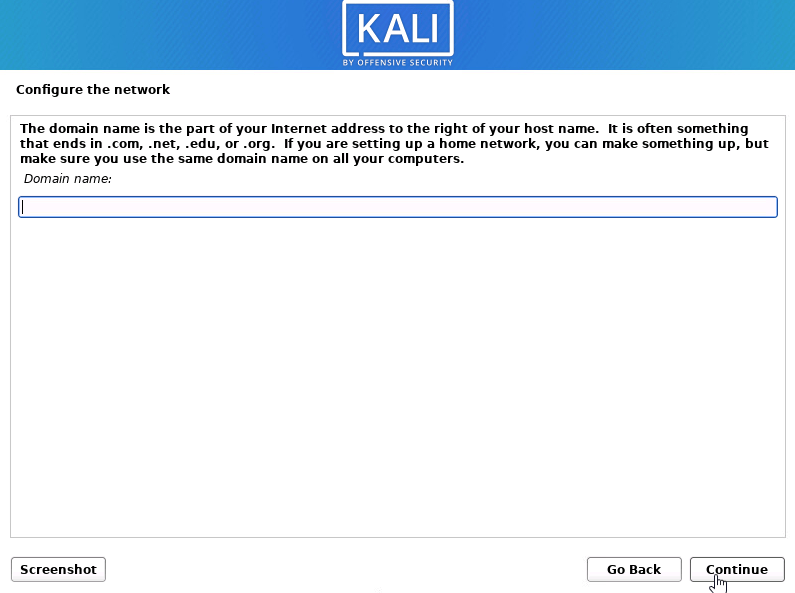
– Set host name
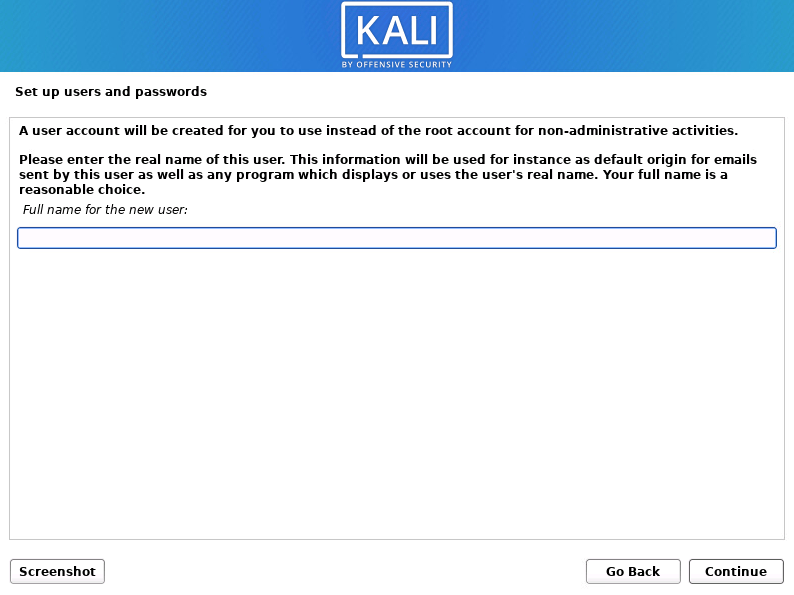
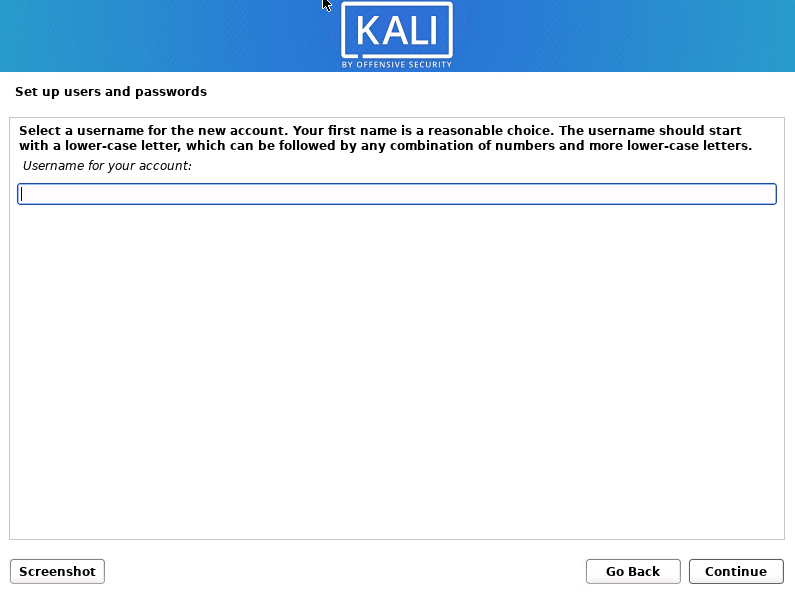
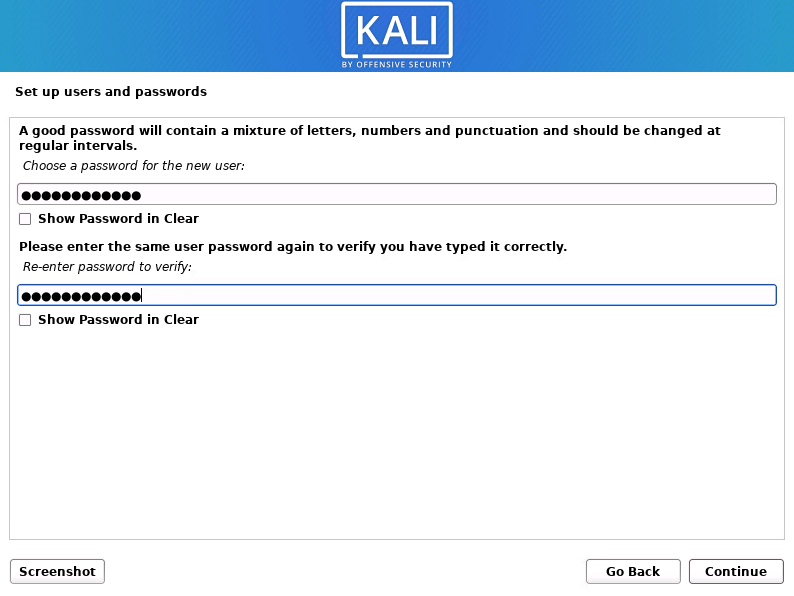
– Create username
– Type the password for the user you just created.
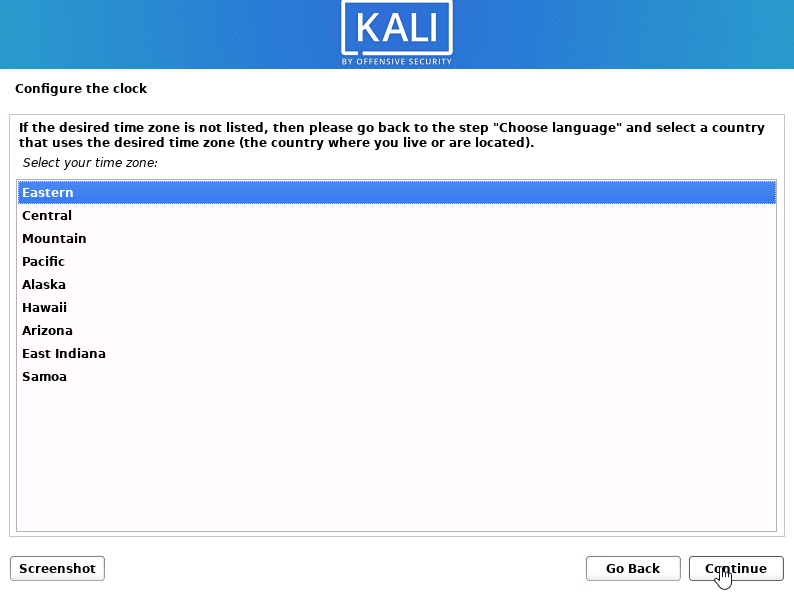
– Set your clock
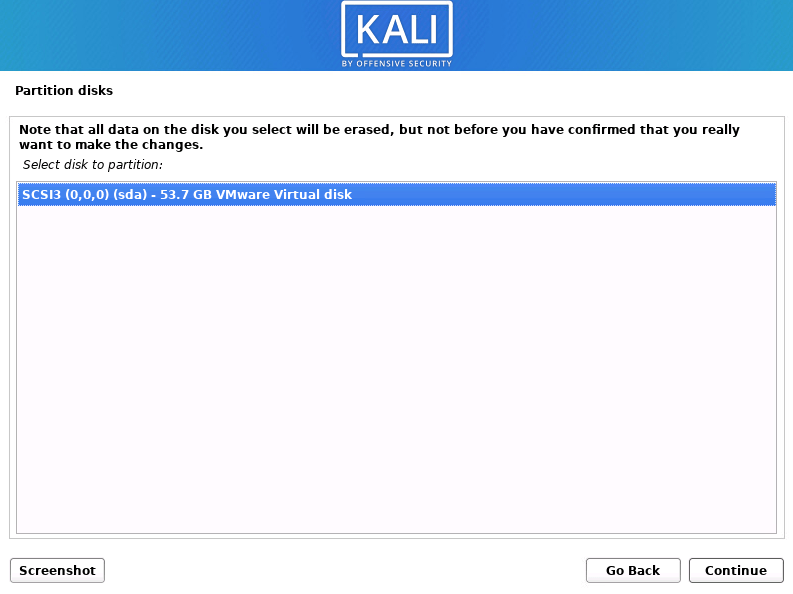
– Use entire disk
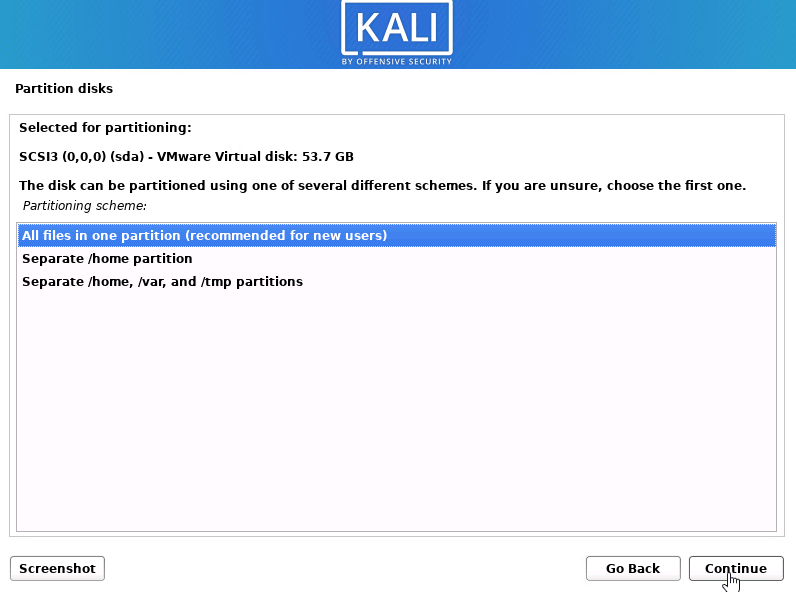
– one partition
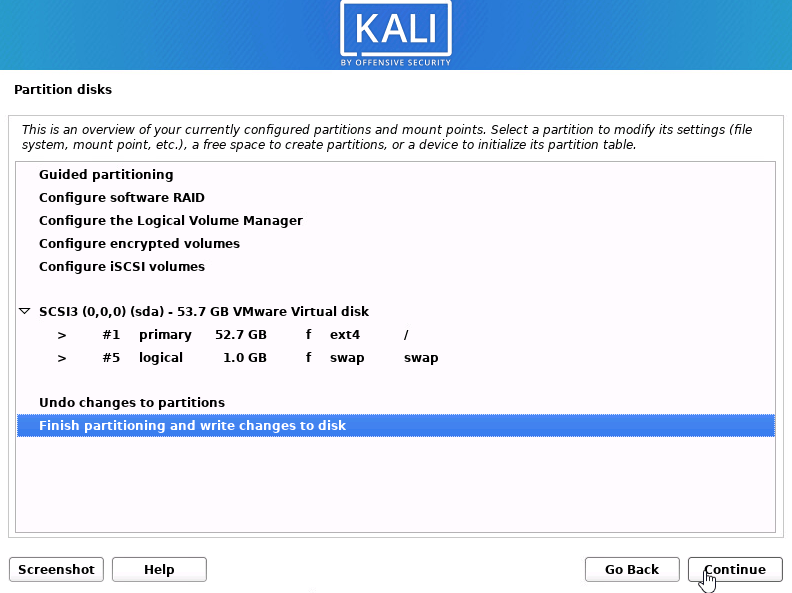
– yes > write changes to the disk

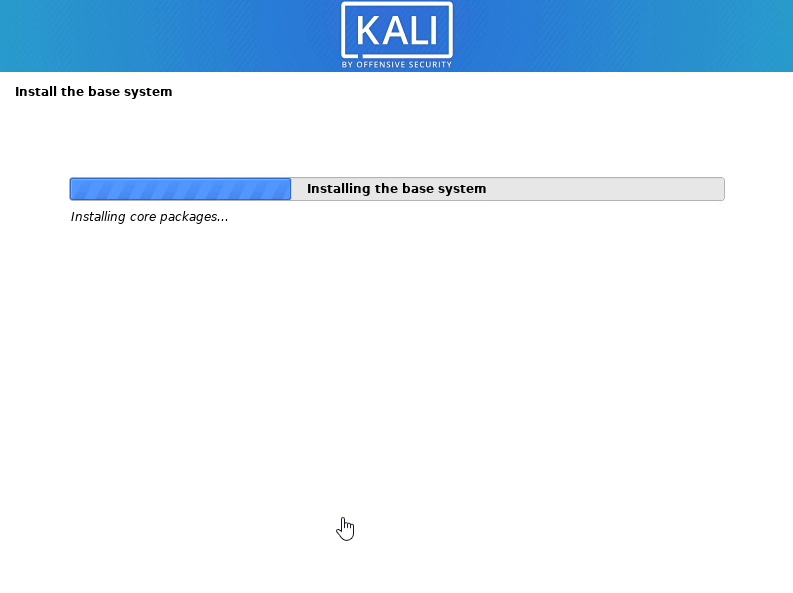
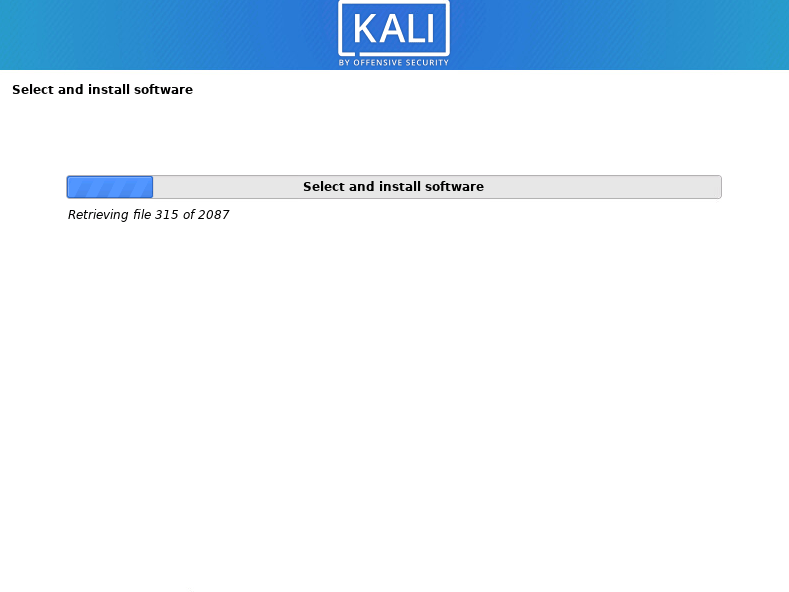
– Installation will start, it will take some time.
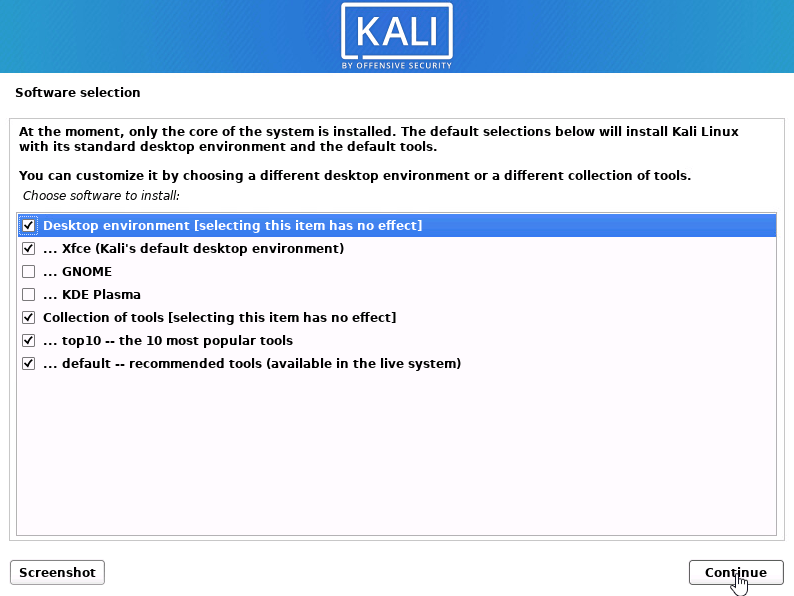
– if you’d like to choose another desktop environment feel free, I’m keeping it as default
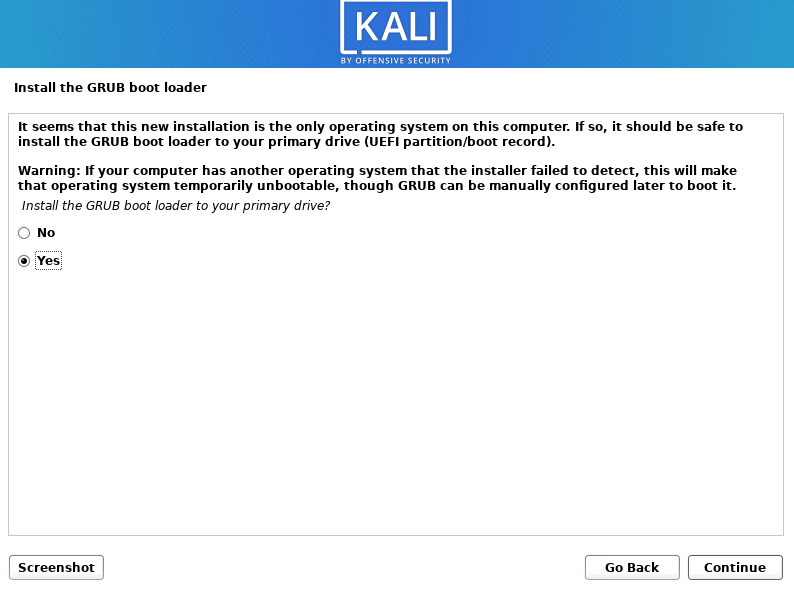
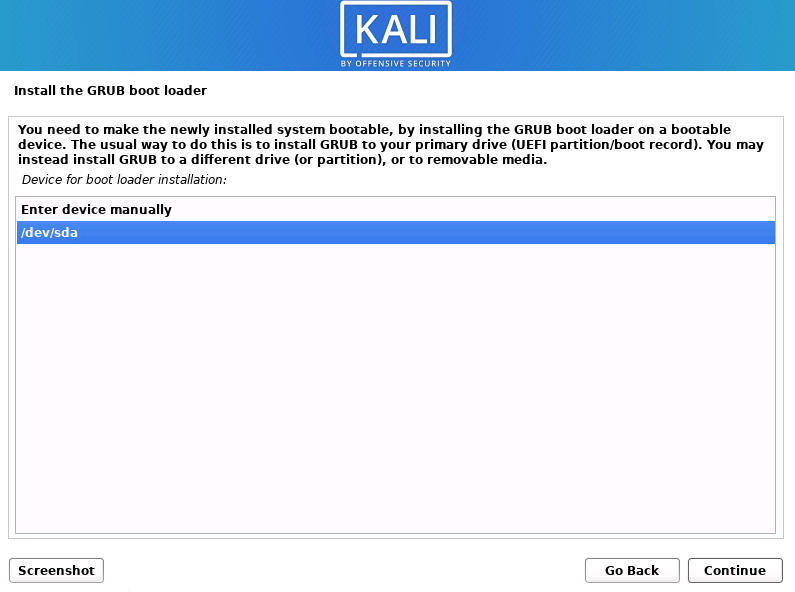
– Install grub boot loader
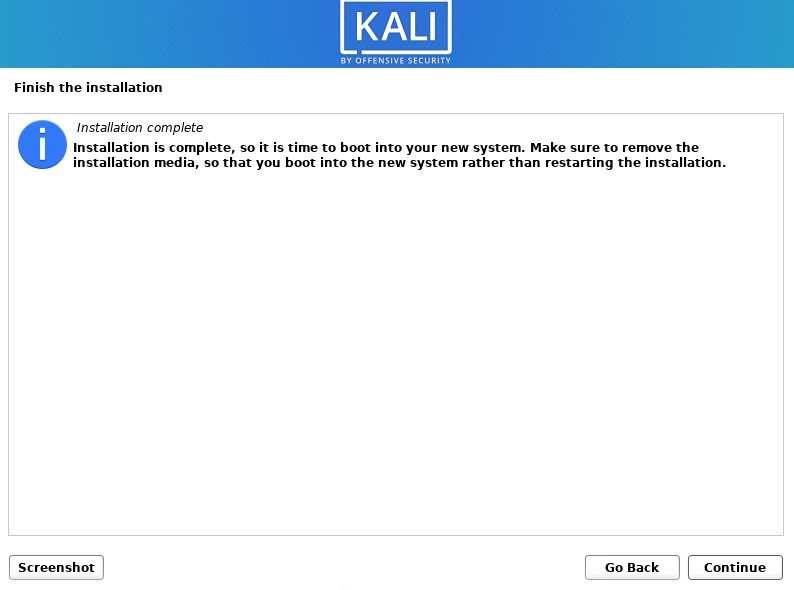
Reboot and disconnect the disc
Step 3 Update The Latest Packages.
Log in with the user you created

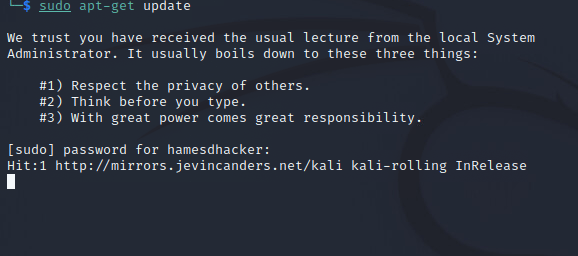
Open a terminal and type > sudo apt-get update > enter your password
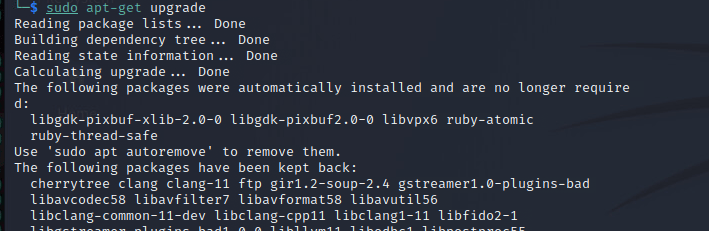
sudo apt-get upgrade
y
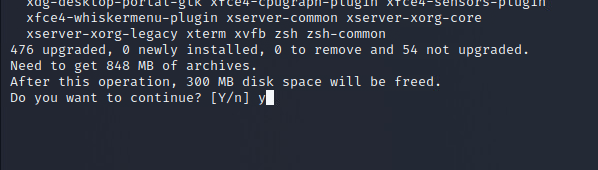
After the update is complete, your kali is ready to go.
