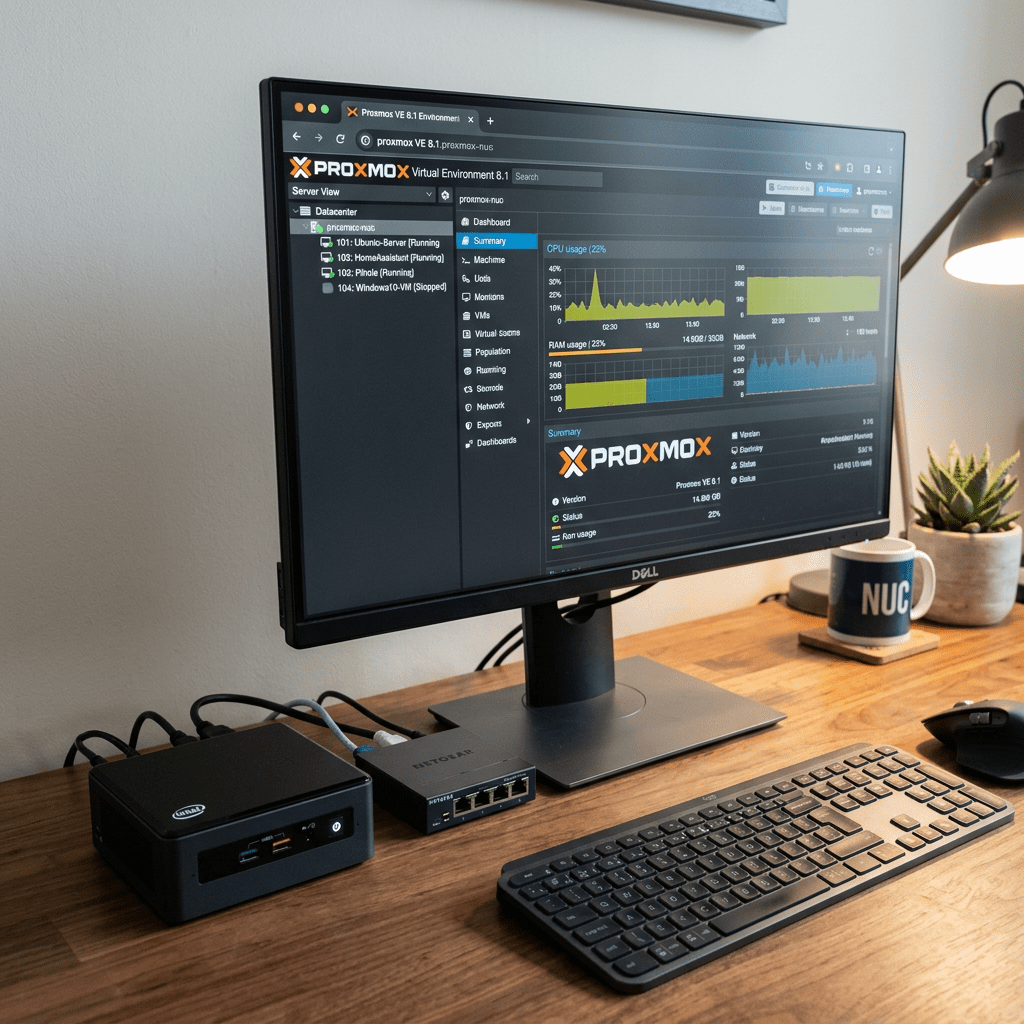
I turned my Intel NUC into a proper hypervisor using Proxmox VE. The goal was to run multiple VMs on a single piece of hardware and use it as the core of my homelab.
Hardware
- Machine: Intel NUC i7 (2018)
- RAM: 24 GB
- Storage: 500 GB SSD
What Is Proxmox
Proxmox VE is a bare-metal hypervisor built on Debian Linux. Install it directly on hardware, manage VMs and LXC containers through a web UI. Free and open source. Your own ESXi at home without the VMware licensing nightmare.
Installing Proxmox
Download the Proxmox VE ISO from proxmox.com, flash to USB with Balena Etcher or dd:
dd if=proxmox-ve_*.iso of=/dev/sdX bs=1M status=progress
Boot from USB, follow the installer, set a root password and static IP. Web UI available at https://YOUR_NUC_IP:8006. Log in with root and your password.
Network Bridge Setup
Proxmox uses Linux bridges to connect VMs to the network. I needed two bridges for OPNsense: vmbr0 on the onboard NIC for WAN, vmbr1 on a USB Ethernet adapter for LAN.
Important: The USB NIC initially showed inactive/down causing client devices to get 169.254.x.x self-assigned addresses. Once the link was active on vmbr1 everything stabilized.
ip link showbrctl show
Creating a VM
- Click Create VM in the Proxmox UI
- Assign VM ID and name
- Select your ISO from local storage
- Set RAM (2 GB for OPNsense)
- Set disk size (16 GB is enough)
- Add two network devices on vmbr0 and vmbr1
- Start VM and open console
Key Lessons
- Network bridge setup is where most people get tripped up
- USB NICs work fine but make sure the link is actually up first
- Proxmox web UI gives full VM console access making debugging easy
- 24 GB RAM on a NUC runs several lightweight VMs with room to spare
